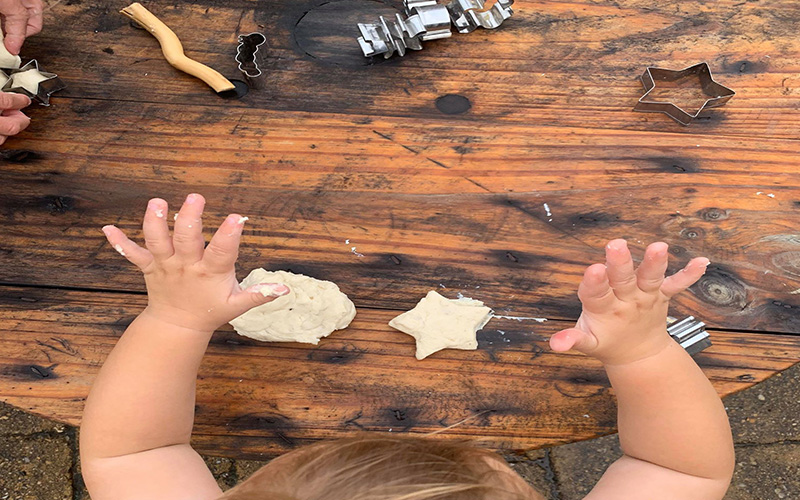
Playdough has to be one of our favourite activities to do with children at home. It’s quick, easy, lasts in the fridge for ages and provides HOURS of fun, even for older children. Here is our easiest and best playdough recipes!
The Best Playdough Recipe
- 1 1/2 cups plain flour
- 1/2 cup self raising flour (this gives the playdough a wonderfully soft and fluffy texture!)
- 2 tablespoons of oil (we use coconut or olive oil)
- 1/2 cup salt
- 2 tablespoons cream of tartar (find it in the baking section of your supermarket)
- Approx 1 cup boiling water. Just add bits of it until you get a nice texture, sometimes it can be a bit more than 1 cup.
- Food colouring (optional)
- a few drops of your favourite essential oil (we love peppermint or wild orange)
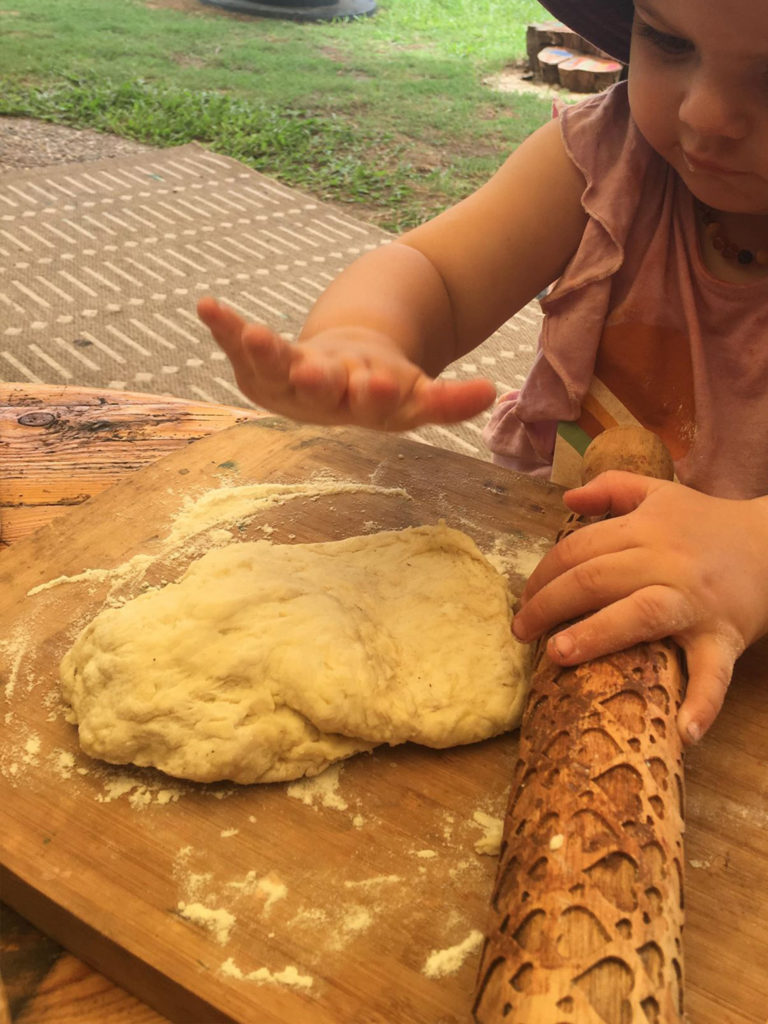
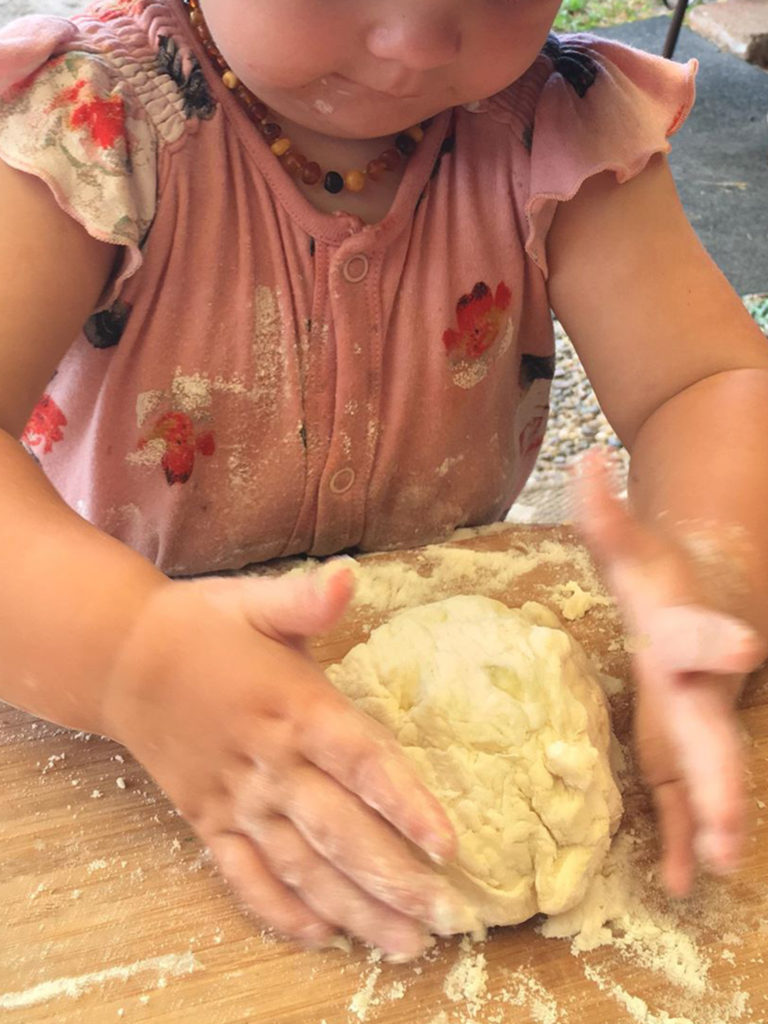
Mix the flours, salt, cream of tartar and oil in a large mixing bowl. Add the food colouring to the boiling water and gently stir through. Then, add the water to the dry ingredients in increments until you are happy with the texture. Add a few drops essential oil and knead through. Make sure you continue to knead the playdough until it the right consistency. You may need to add a bit more flour if it is too sticky.
This dough will store in an airtight container in the fridge for several months.
Play Doh without Cream of Tartar
- 1 cup of flour
- 1/4 cup of salt
- 3/4 cup of water
- 1 tablespoon of vegetable oil
- A few drops of food colouring (if you want it)
- A few drops of essential oils to make it smell nice (if you want it)
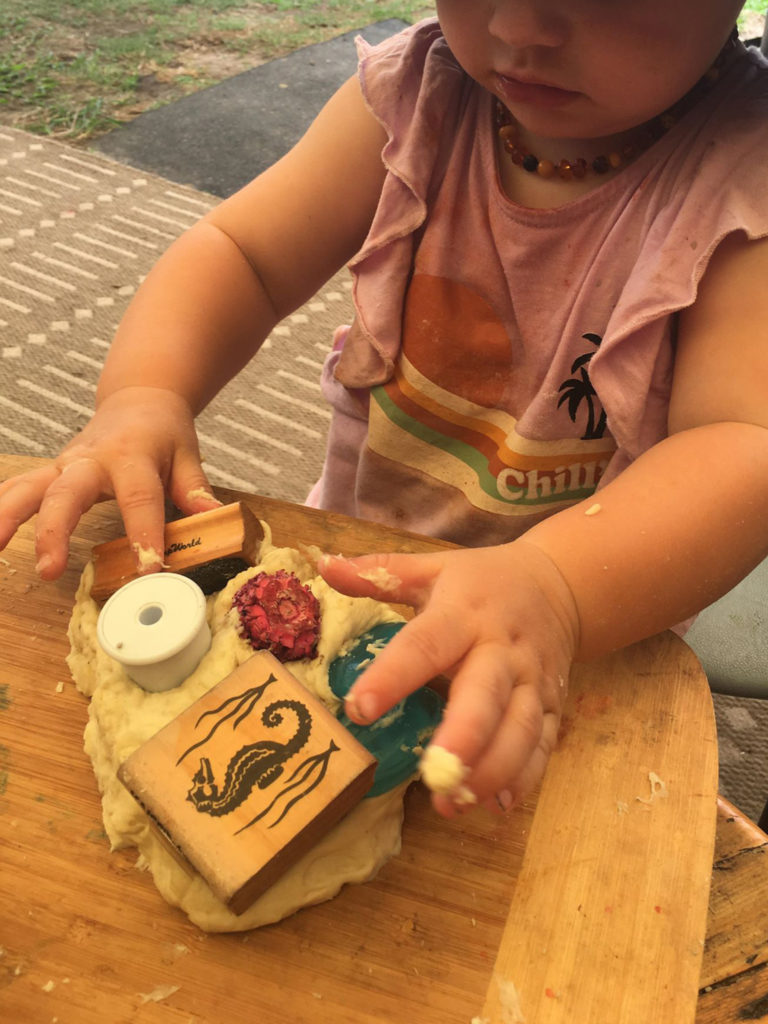
Here are some ideas of how to get creative with your playdough!
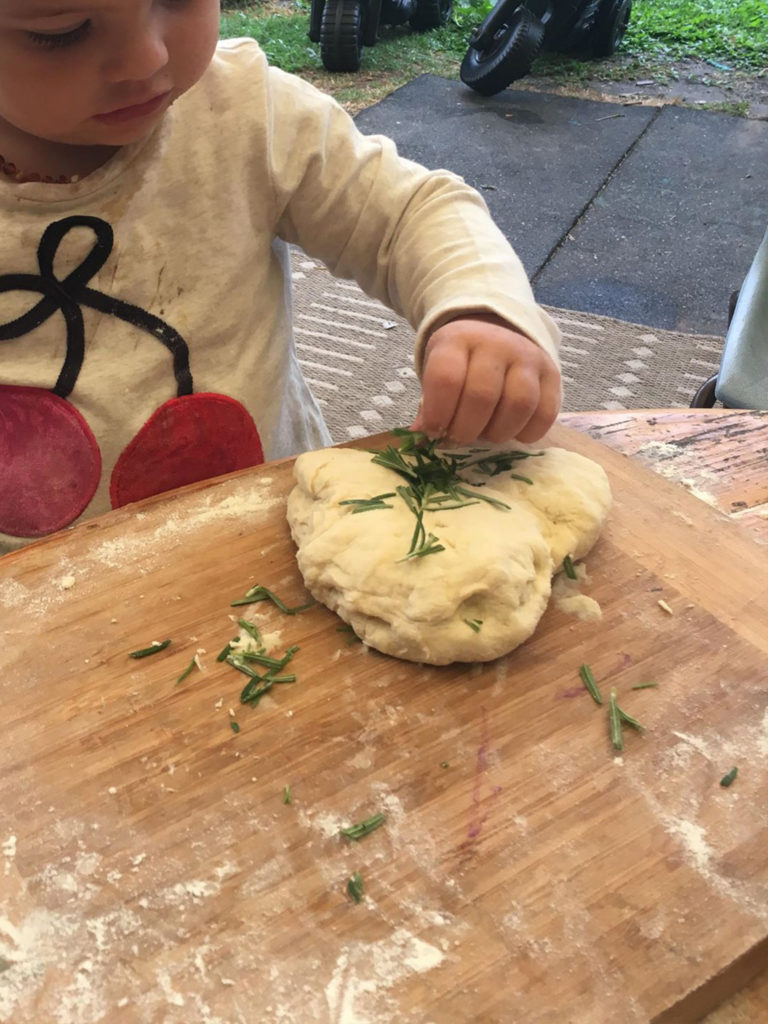
- Go for a nature walk and collect sticks, leaves, flowers and stones to add to your playdough creations!
- Add gems and beads so children can make pretty patterns in their dough (children 3+)
- Raid the kitchen drawers for playdough tools for rolling, cutting and moulding.
- Googly eyes and pipe-cleaners for playdough monsters!
- Sea shells and sand for “beach playdough”
- Make playdough pretend pizzas!
- Make lots of little batches of colour for rainbow playdough – children would love mixing together.
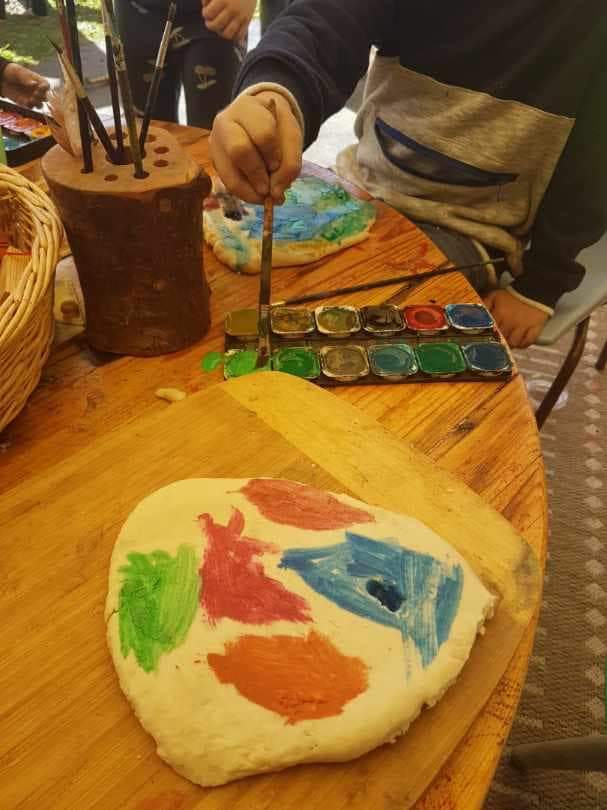
- Paint your playdough! When your playdough is looking a bit sad, roll it out and paint on it! Beautiful!

You might also be interested in
-

Here are a couple of quick and easy art activities inspired by Winter. SNOWFLAKE DECORATIONS You will need: PaperScissors Method: Start with a square. Fold in half to make a triangle, then fold the points upwards (check picture for reference) Then draw the snowflake design and cut out! Make a few in different sizes and decorate a wall or door! SNOWMAN SURPRISE You will need: Clear contactScissorsColoured card (or an old cereal packet you can cut up and colour)Either old lace doily from an op shop, cotton balls or white paper Method: This one is really simple but kept my three year old entertained for quite some time and she was thrilled with the result. Simply draw the snowman shape on the contact. Cut out and peel off backing. Stick to door or wall by folding over a couple of centimeters at the top and bottom. Let your child decide what accessories the snowman will have. If they can draw and cut them out by themselves, give them ownership of their artwork. My three year old drew the circle buttons, the lines on the carrot and the shape of his smile and I cut them out for her.
-

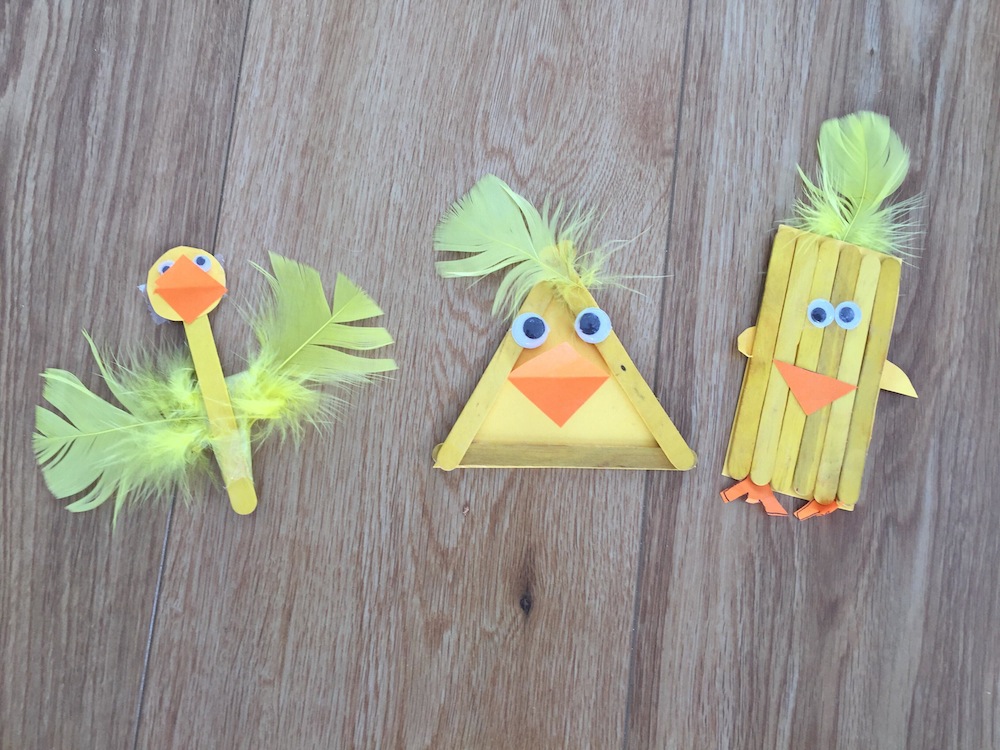
In the lead up to Easter it's pretty much a craft bonanza at our house. We have a few rules: It's got to be kid-oriented and age appropriate (eg. no origami or glass blowing!) . This year my kids are 3 and 2 (and 10 weeks, but he doesn't really count this year- sorry little man!). It should be an activity that the kids can do the majority of themselves so they can work on their fine motor skills, creativity and imagination. Some activities may require difficult scissor work, which may need adult help. The photos I've added in this post are the efforts that look most like what I expected! A lot of the craft we completed looked vastly different from one to the next, which is fine too. :-) It should be inexpensive to do (eg. no fancy paint brushes, sequins or cartridge paper) The mess should be as minimal as possible (eg. paint is fine, but glitter is NOT IDEAL). I'm fine with mess as long as it's not permanent! The art and craft activity should ideally use things I already have in the pantry or craft boxes So here are some of the craft ideas we've…
-

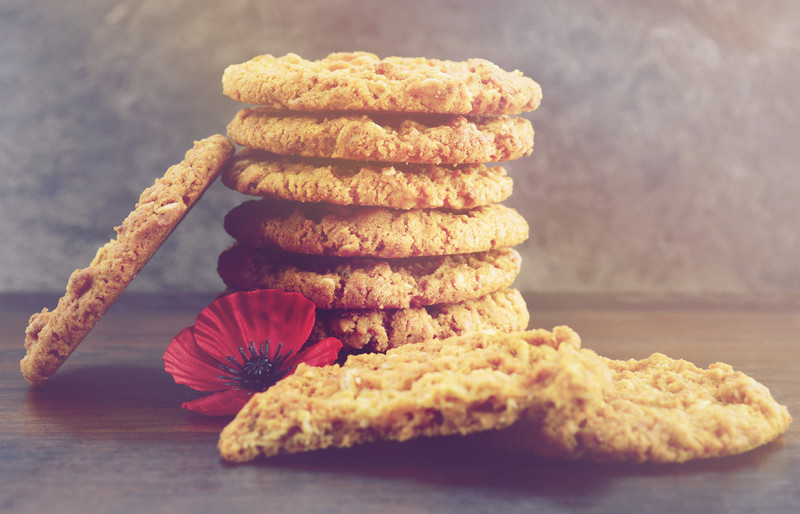
ANZAC BISCUIT RECIPE - MAKES ABOUT 35 1 cup rolled oats 1 cup plain flour 1 cup sugar 3/4 (three-quarters) cup coconut 125g (4 oz) butter 2 tablespoons golden syrup ½ (half) teaspoon bicarbonate of soda 1 tablespoon boiling water Combine oats, sifted flour, sugar and coconut. Combine butter and golden syrup and stir over gentle heat until melted. Mix bicarb with boiling water until it froths up Add bicarb froth to melted butter mixture, stir into dry ingredients. Take teaspoonfuls of mixture and place on lightly greased oven trays; allow room for spreading. Bake in slow oven (150°C ) 10-12 minutes for chewy / 15-20 mins for crunchy Cool on a rack and try your best to not eat them all in one day.