Firstly, it is normal for children from 12 months of age and beyond to require snacks. Typically, most toddlers and children need 3 meals (breakfast, lunch, dinner) and 2 snacks per day (morning tea and afternoon tea) with an optional bedtime snack. This meal pattern is helpful right through childhood, so we are not totally off the hook for snacks 😁. However grazing patterns and constantly preparing or getting food on demand for your tiny person can create stress, unhealthy meal patterns and even contribute to fussy eating.
The trick to getting out of the kitchen and only serving food when you are ready (not on demand) is to have a meal routine. A meal routine helps children, especially younger children, recognise hunger cues, learn to feel fullness and establish good eating habits (for example sitting down to eat).
Some tips to make routines work:
- Stick to 3 main meals and 2 snacks/day from 12 months of age with an optional bed time snack for older children or those who are still up at least 2 hours after dinner.
- Each child is unique so work out a schedule that suits their age and stage.
- It is okay for a child to refuse a snack or meal. Appetites can vary from day to day and even from meal to meal. If they don’t eat much at a meal or snack time, the next meal is not far away
- Be consistent with the routine but allow for some flexibility around times. If you can see your child is hungry but morning tea is 30 minutes away, serve morning tea a little earlier then you planned.
- Children are very good at knowing how much they need to eat, allow children to choose how much they want to eat – they can always ask for more!
- Use a meal planner – have a plan for what meals and snacks you will serve during the day
- Choose snacks that will keep kids full and nourished until their next meal by including foods with fibre, fat and protein
5 simple snack ideas:
- Fruit, veg and cheese platter (make it age and stage appropriate)
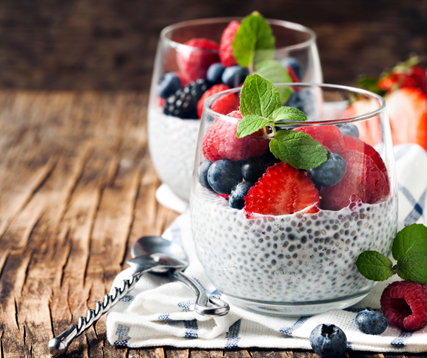
- ¾ cup of Greek yoghurt with chopped berries and 1 x tablespoon of chia seeds and a sprinkle of cinnamon
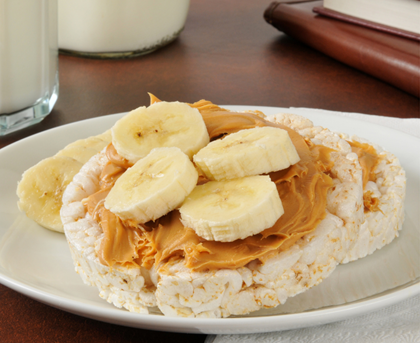
- Rice cakes topped with nut butter of choice and banana slices
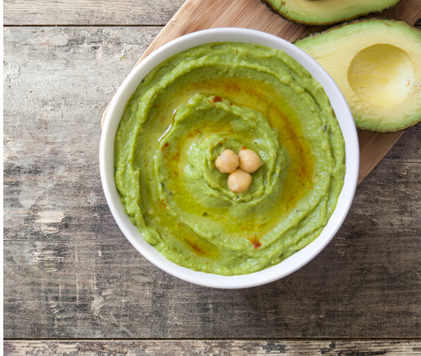
- Hummus or avocado dip with pita bread triangles and cucumber sticks
- Ricotta and Banana pikelets

For more information, ideas and recipes for all things baby, kids and family nutrition follow Anna on www.instagram.com/nourishlittlelives
You might also be interested in
-

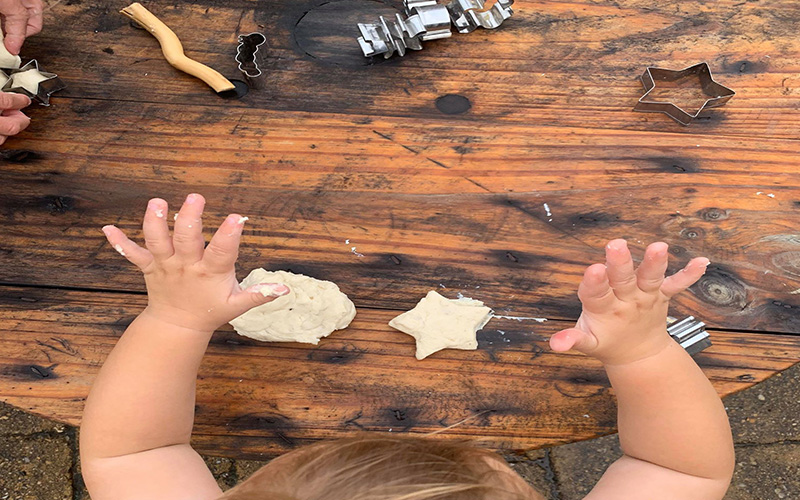
Playdough has to be one of our favourite activities to do with children at home. It’s quick, easy, lasts in the fridge for ages and provides HOURS of fun, even for older children. Here is our easiest and best playdough recipes! The Best Playdough Recipe 1 1/2 cups plain flour1/2 cup self raising flour (this gives the playdough a wonderfully soft and fluffy texture!)2 tablespoons of oil (we use coconut or olive oil)1/2 cup salt2 tablespoons cream of tartar (find it in the baking section of your supermarket)Approx 1 cup boiling water. Just add bits of it until you get a nice texture, sometimes it can be a bit more than 1 cup.Food colouring (optional)a few drops of your favourite essential oil (we love peppermint or wild orange) Mix the flours, salt, cream of tartar and oil in a large mixing bowl. Add the food colouring to the boiling water and gently stir through. Then, add the water to the dry ingredients in increments until you are happy with the texture. Add a few drops essential oil and knead through. Make sure you continue to knead the playdough until it the right consistency. You may need to add a bit…
-

Here are a couple of quick and easy art activities inspired by Winter. SNOWFLAKE DECORATIONS You will need: PaperScissors Method: Start with a square. Fold in half to make a triangle, then fold the points upwards (check picture for reference) Then draw the snowflake design and cut out! Make a few in different sizes and decorate a wall or door! SNOWMAN SURPRISE You will need: Clear contactScissorsColoured card (or an old cereal packet you can cut up and colour)Either old lace doily from an op shop, cotton balls or white paper Method: This one is really simple but kept my three year old entertained for quite some time and she was thrilled with the result. Simply draw the snowman shape on the contact. Cut out and peel off backing. Stick to door or wall by folding over a couple of centimeters at the top and bottom. Let your child decide what accessories the snowman will have. If they can draw and cut them out by themselves, give them ownership of their artwork. My three year old drew the circle buttons, the lines on the carrot and the shape of his smile and I cut them out for her.
-

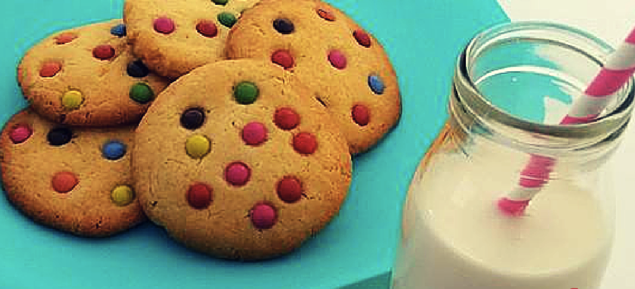
These Santa cookies will make a great snack for hungry Santa this Christmas. Or, alternatively, you can just eat them yourself so that Santa doesn't get too full and get stuck in the chimney. Ingredients: 3 Cups of flour 125 grams of melted butter 1/4 cup condensed milk 1/4 cup white sugar m and m’s Method: Preheat oven to 180 degrees Line a tray with baking paper Melt butter in microwave for 15 seconds Add sugar and mix to creamy Add flour to a bowl Add condensed milk and butter mix to the flour Mix well Roll into approx. 2 inch balls and flatten to look like biscuits Add m and m’s to the top of the cookies Place in oven and bake for 15-20 mins For more great recipes hit up The Colourful Housewife