")


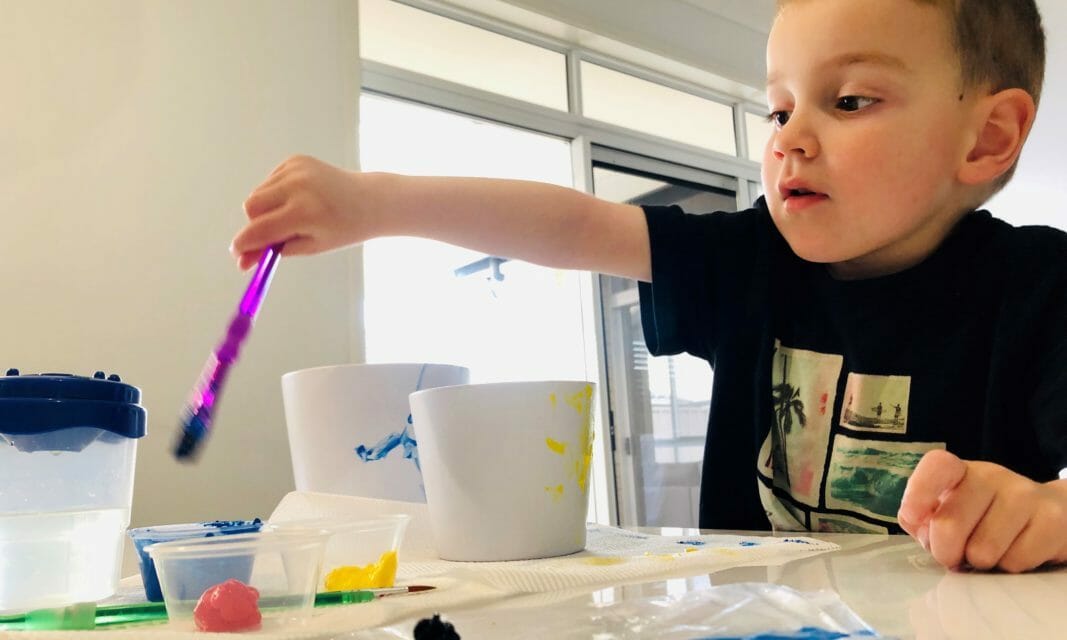
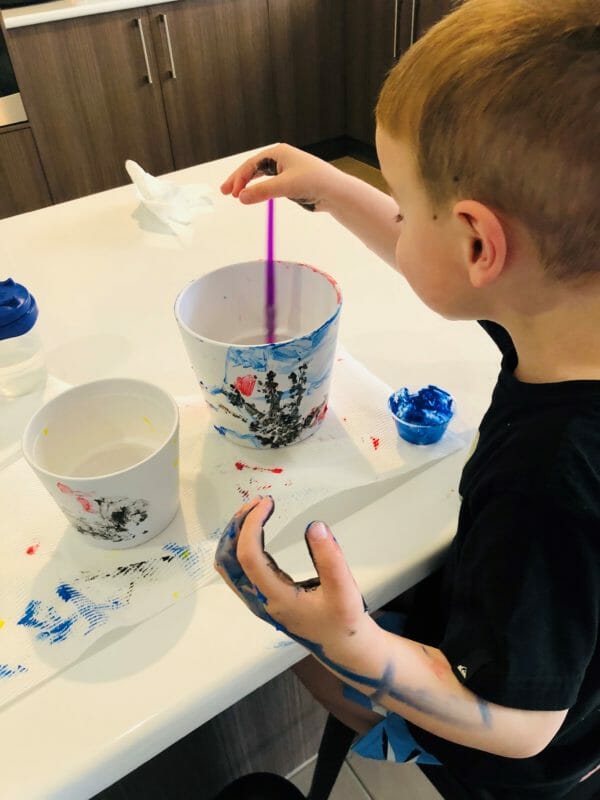
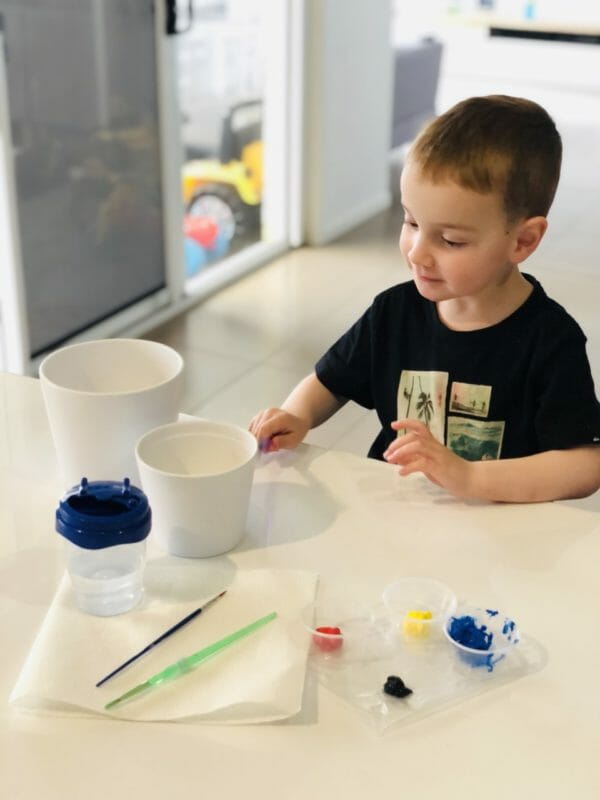
We love to get messy with paint and finding new things to paint each week, and with the sun out if we can do it outside it’s a winner for us. The best news is little man has taken to Mumma’s plant obsession (can hardly contain my happiness) So with Spring Sprung and Mumma looking for any excuse to head to Bunnings we came home with these cute little pots ready to paint with all sorts of different patterns. I also thought putting a handprint on one as a memory would also be a keeper.
Buying plain pots means there is lots of room for customisation, and they can really take pride in this craft and turn it into a lovely gift or even teacher gift as that time of year is fast approaching! We chose a mix of free hand painting as well as some stencils.
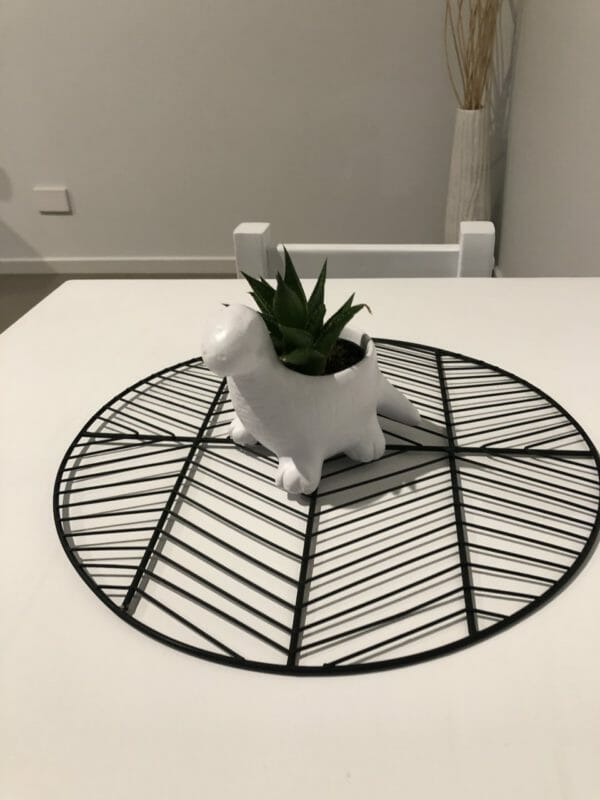
The supplies were really easy to come by and I found including the kids in this process really gives them a sense of creativity and passion. As above we brought some pots from Bunnings, there is such an array to choose from there all different shapes, sizes and prices. We also HAD to buy a Dino pot for the dino obssessed toddler while we were there (pictured which started hot pink but we painted white). We were then off to Cheap as Chips for some stencils, paint brushes and paint, you need to use acrylic or ceramic paint, washable will not stay. Then it was home to put our creative hats on and get messy.
This project will get quite messy and as the paint is not washable we do recommend old clothes or a smock. Also cleaning up straight after before the paint stains.
All in all this project is very cost effective and really enjoyable to do with the kids. There are so many ways to get creative with this project, From sponging , paint brushes, stencils to free hand we had the best time mixing it up and the memory of keeping it on display around the house is such a sentimental reminder of how quickly they grow up!
You might also be interested in
-

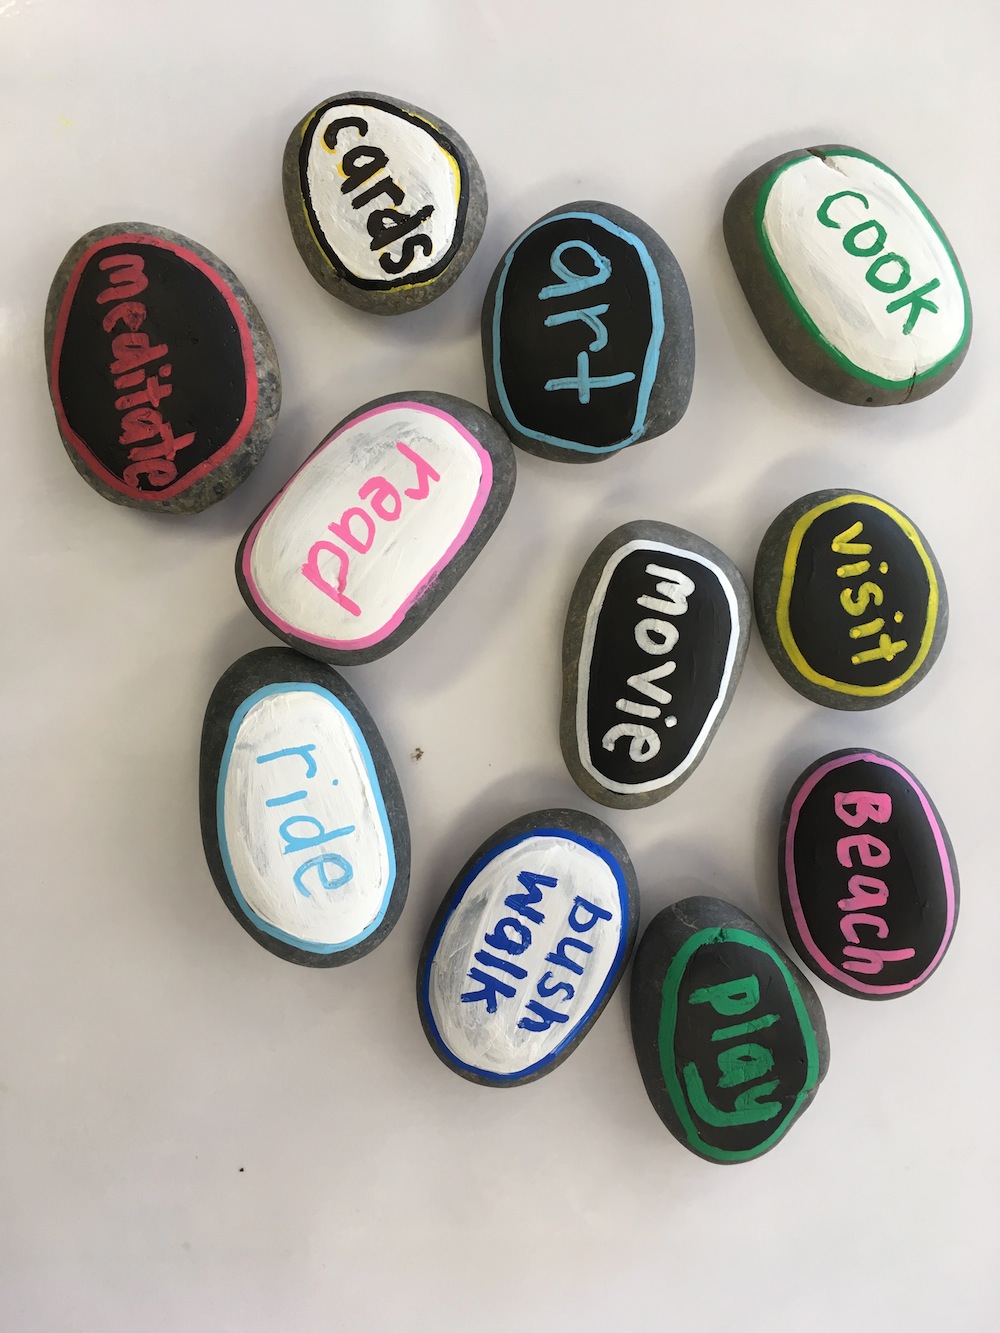
Love Stones for Daddies The Fathers in this world hold their children in their arms and hearts and carry the thought of them all through their days. For this, we are so very grateful. Love Stones for Daddies is a beautiful gift idea for Father’s Day. It allows your child to think of all the things that they would love to do, or already do, with their Dads and they get to pick a love stone when ever the need arises – for sharing special times together. You will need the following: Black and white acrylic paint – or just choose what you like best from the images and keep it simple!Poska textas – these are paint textas and you can buy them from Officeworks or a good art storeSmall paintbrushBox or container for your stones to go into. This is a great opportunity to go to an Op-Shop with your child and look for something that you can recycle, such as an old biscuit tin, crate or fancy vase. You just need to be able to fit Dad’s hand into it!Clear Varnish – spray or paint: a good art store has the spray and its really easy to use.…
-

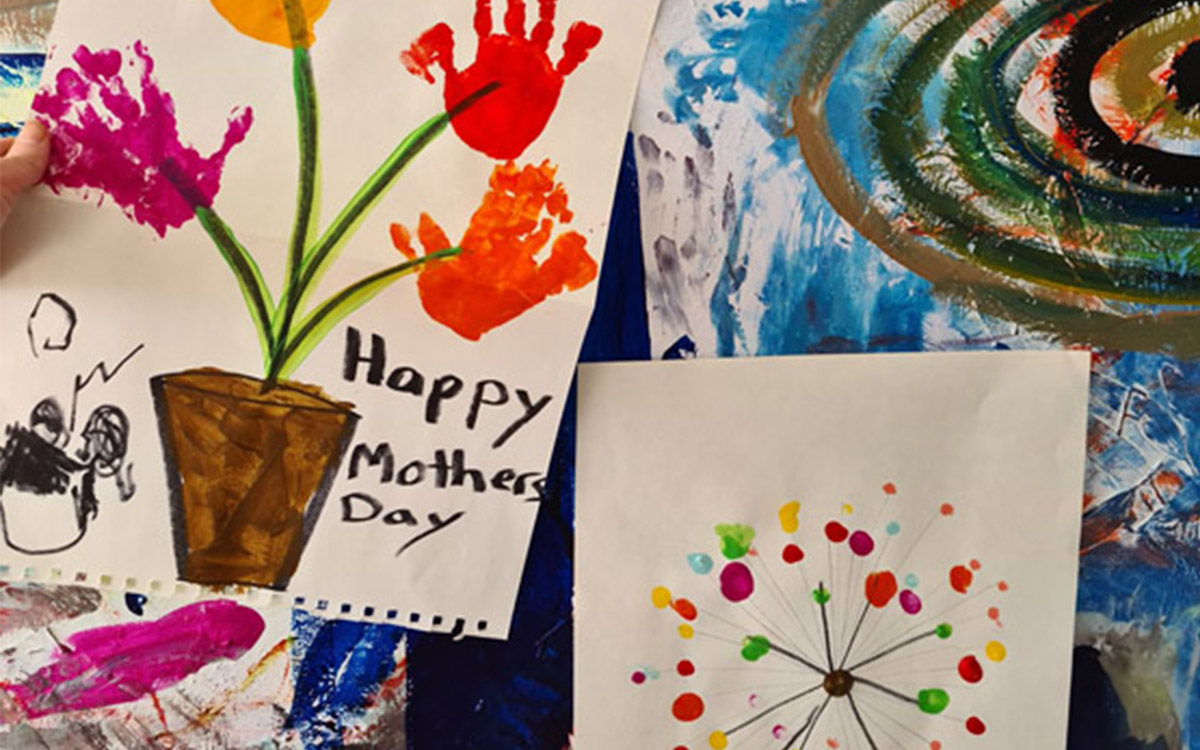
This Mother’s Day is an opportunity for lot’s of dads to be involved (if they’re at home) to help make it extra special, or maybe older siblings can be given the opportunity to create with little ones, if you’re a hardworking solo parent!Many Mums have been at home with their children 24/7 for weeks on end now, with no respite, chance to have some time on their own or to reenergize, which, let’s face it, we all need to be the best we can be!Motherhood is all consuming, and yes, we wouldn’t have it any other way, but taking time out for ourselves is an extremely important aspect of having the energy to keep up with our little people!Here are five art/craft activities to help mum feel special. It doesn’t need to be expensive as it’s the thought that counts (but go right ahead if you were thinking of ordering that dress we tagged you in on insta or buying that diamond ring, we won’t say no!) Hand print bouquet You will need: Paper or card stockPaintTexta Method:Draw a pot and some lines coming out. Paint your child’s hand and print to create flowers!Write a nice message for mum or…
-

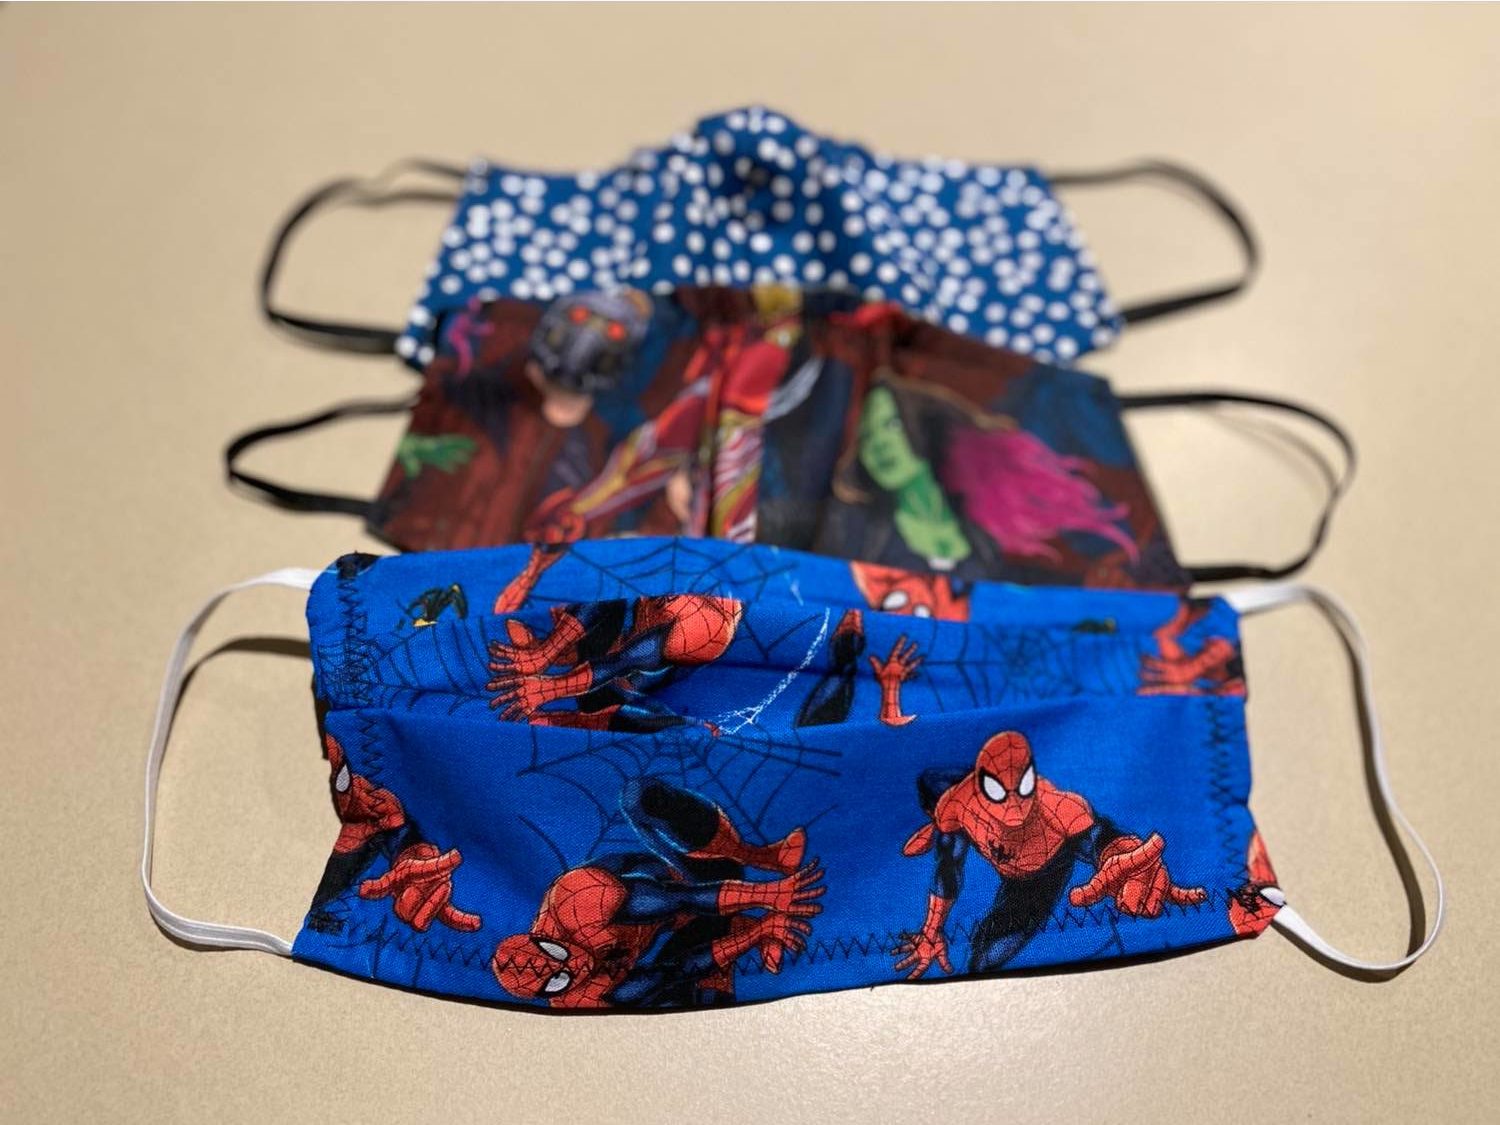
This week we found a fantastic little project page through Spotlight (you can find the link here) where you can make your own face masks. Thankfully here in SA it isn't quite mandatory to wear masks due to Covid-19 like it is elsewhere, but it may be worth preparing just in case and this seemed a cool way to get the kids involved and hopefully make something they will wear! Spotlight's page have some fantastic tutorials and instructions (Download free pattern here) but we found it best to use a tightly woven cotton and printed poly cotton. You can also use broad cloth or top pop cotton though. We used top pop for the middle layer as it needs to absorb moisture, so any material similar to pillow protectors are suitable for the middle layers. All this info was given to us by the uber helpful staff at Spotlight when we went in and asked for help.