The Best Gingerbread Recipe from The Colourful Housewife
I have always been a bit fearful of making gingerbread, mostly because it just sounds hard because it’s ginger AND bread. I mean, sure, I have made chocolate cake before, but cakes are meant to be lots of different flavours whereas bread, well, that’s just bread. Adding ginger to it sounds all just a little too tricky to me! So, thank you Colourful Housewife for this simple recipe (including 3 handy hints) to help making my losing of my gingerbread virginity that much easier.
3 Handy Hints before you begin..
- Resting the dough for the recommended time of at least 2 hours is VERY important. When you finish mixing the ingredients it tastes good, when its rested for the advised 2 hours it tastes great, when rested for over 24 hours it tastes AMAZEBALLS! When resting for over 2 hours, pop it in the fridge and bring it back to room temp before using.
- After rolling and cutting out the shapes in the dough, place the whole dough on a tray without removing any shapes or scraps and put it in the freezer for 5-10 mins. It will be much easier to remove the shapes without them getting squished or misshapen. Press scraps together in a ball, but don’t knead and return to room temp before rolling again and cutting more shapes.
- Rolling the dough more thickly will equate to softer gingerbread. Rolling the dough thinner will make crunchier gingerbread.
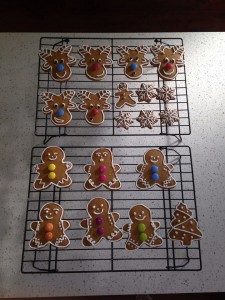
Here is the recipe (which is adapted from another recipe you will find in the original post). This recipe should easily make 24 gingerbread figures (men or women, you choose!)
What you need:
3 cups of plain flour
1 1/2 tsp baking powder
3/4 tsp baking soda
1 tbs ground ginger
1 3/4 all spice (not Chinese 5 spice)
85g butter (if you use unsalted butter, add 1/4 tsp salt)
3/4 cup dark brown sugar
1 large egg
1/2 cup golden syrup
2 tsp vanilla
Icing:
1 1/2 cups pure icing sugar (must be pure icing sugar not icing mixture)
1 egg white
1/2 tsp lemon juice (optional)
Method:
1. In a small bowl whisk together flour, baking soda, baking powder, salt (only if using unsalted butter), ginger, and all spice until well blended.
2. In a large bowl of an electric mixer cream butter and brown sugar on a medium speed until smooth, add egg and beat again until well blended.
3. Add syrup, and vanilla and continue to mix until well blended.
4. If you are using a mix master or similar machine, switch beaters for dough hooks at this stage and gradually add dry ingredients until blended and smooth. This step can be done by hand, just gradually stir in flour with wooden spoon and knead lightly at the end to bring the dough together.
5. Divide dough in half and wrap each half tightly wrap each half and let stand at room temperature for at least 2 hours or up to 8 hours (the longer it rests the better). Dough can be stored in the fridge for up to 4 days, return to room temp before rolling.
6. Preheat oven to 190°C line biscuit tray with baking paper.
7. Roll dough to approx 5mm thickness and cut out shapes place on tray 3 cms apart, bake for 7-10 mins. For 5mm thickness 9mins is perfect baking time for a soft gingerbread, for crunchier gingerbread roll thinner and bake for 1min extra (always check before the recommended time incase your oven cooks slower or faster).
8. Remove from oven and stand on tray until firm enough to transfer to a wire rack to cool).
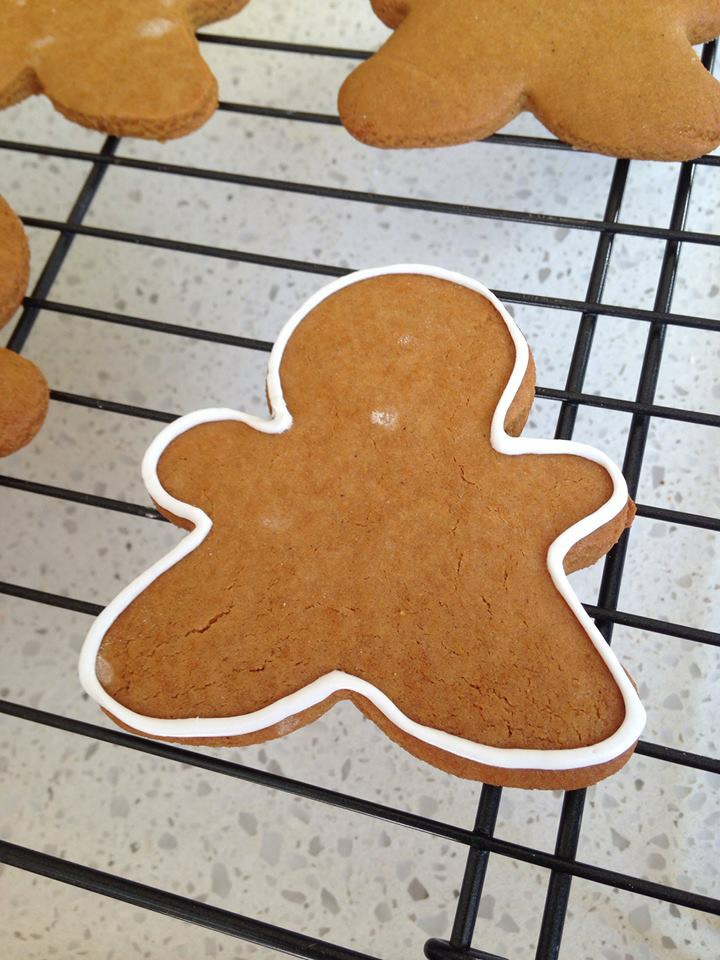
9. When completely cooled, decorate any way you like with royal icing (or leave plain, they are amazing both ways). With electric hand beaters whisk the egg whites until soft peaks form gradually add sifted icing sugar and beat until icing is very white and resembles a thick paste. Place icing in a piping bag with a fine tip (a zip lock bag with the very tip snipped off works perfectly for this) and have fun decorating your gingerbread people!
For more great recipes, head to The Colourful Housewife





![AFLW-Tickets-[KidsinAdelaide]-[300x300px]](https://kidsinadelaide.com.au/wp-content/uploads/2025/08/AFLW-Tickets-KidsinAdelaide-300x300px.gif)


