Making and building things with your kids (or lets face is ‘for’ your kids, because they often bail half way through) is rewarding and fun.
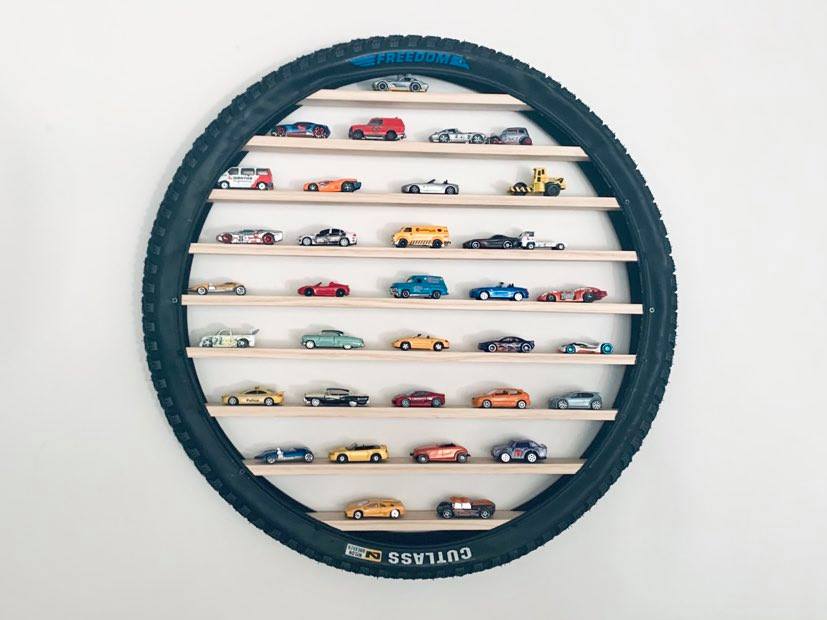
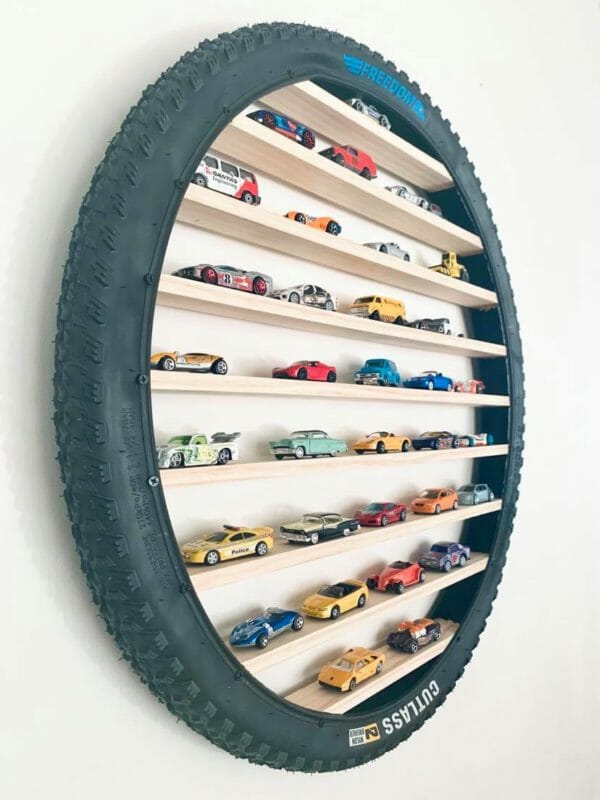
We recently found a version of this ‘hot wheels’ style shelf on Pinterest and thought we would give it a go. Not only was it easy, and fun, it was quick and the job was done for under $50. It’s a great gift idea or just an excuse for a trip to Bunnings and to spend an hour in the shed, with or with out the kids.
Here’s what you will need:
1 x Mountain Bike tyre (we picked one up from 99 Bikes for $18)
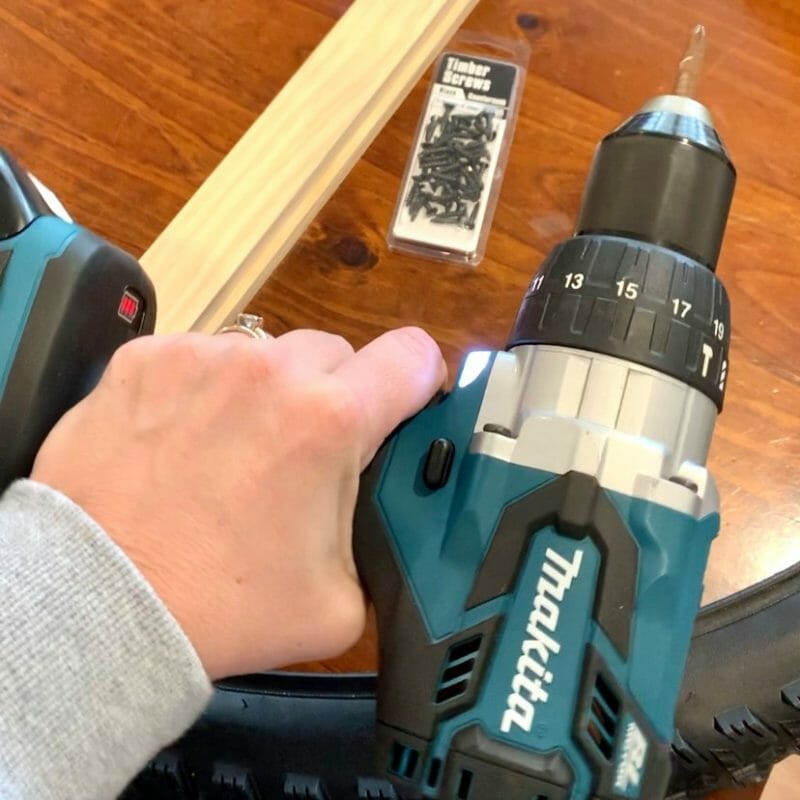
1 x Pkt of black countersunk timber screws. We used short 16mm and picked them up for about $3 for 45 screws at Big Red Hammer (Bunnings). Depending how many shelves you want to insert, just ensure you have four screws for every shelf. We made ours with 9 shelves, so 36 screws.
2 x 2.4m length of pine that will fit widthways inside your bike tyre. (Is it called pine trim? Pine battening?) You may need more if you have a bigger bike tyre than ours or want more shelves. Grabbed ours from Bunnings it was around $13 per 2.4mtr length (Take the tyre to the shop and you will ensure to find the most suitable timber)
Drill (we used a cordless Makita)
Saw of any kind (We used a cordless circular saw, but a hand saw would also do)
Pencil
Set Square
Calculator (Optional)
Safety glasses
A work bench and vice would be handy. We didn’t have this luxury.
Here’s how to make it:
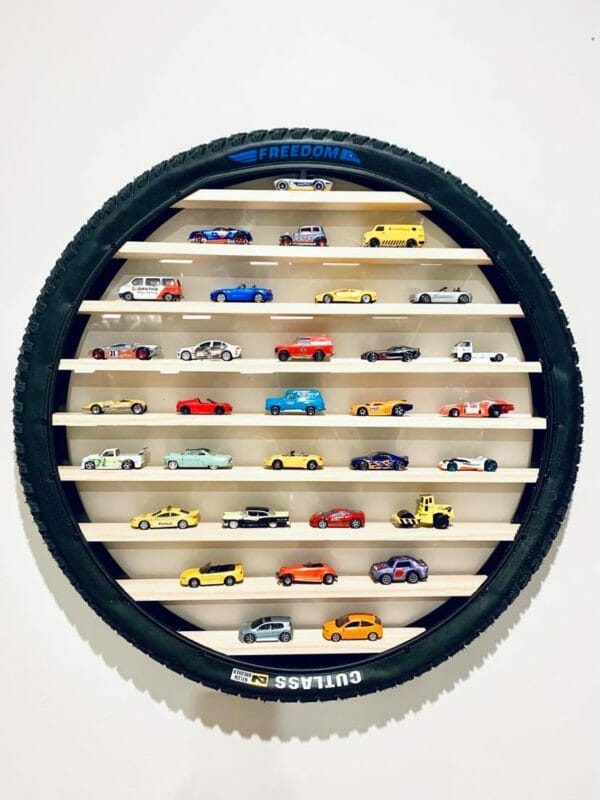
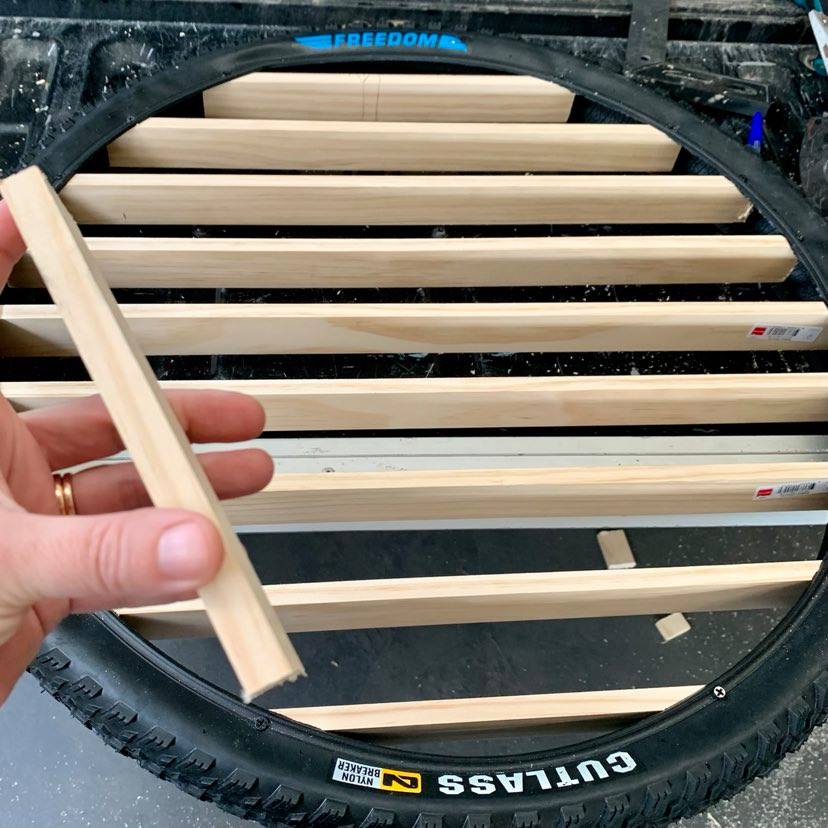
Measure lengths of wood to fit inside your tyre as shelves. Start with the middle / widest part of the circle and move outwards towards the top and the bottom, measuring for as many shelves as you’d like. Nine was nice spacing for ours. I have seen more. Mark up the timber with pencil and a set square.
Cut timber to length for all shelves.
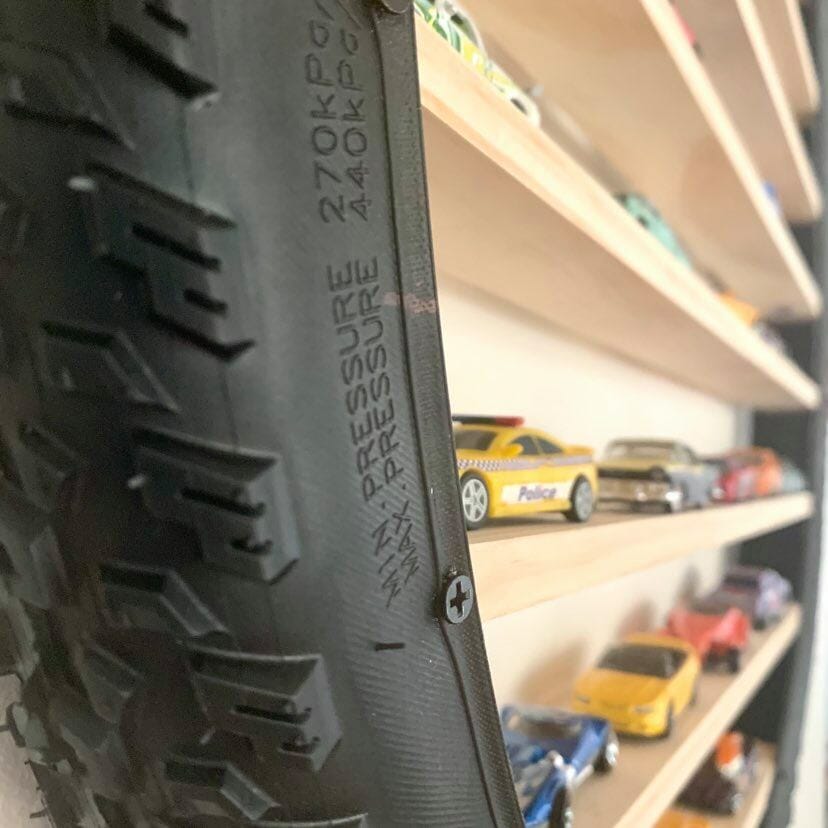
Insert the cut timber lengths one at a time, and then hold in place with your black countersunk screws. Each shelf will need four screws
Erase any pencil lines that are visible and you are done!
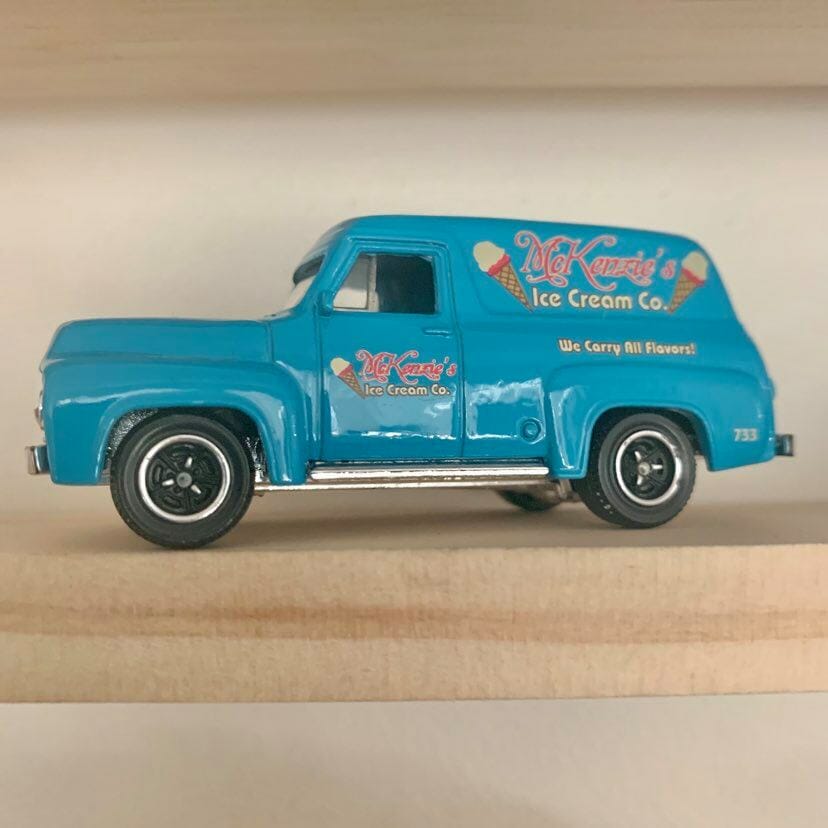
Hang and place cars!
You could stain the pine before screwing it in place if that’s your jam.
You might also be interested in
-

The Kids in Adelaide resident “Elf on the Shelf-er” Jessie has shared her favourite Elf of the Shelf ideas with us (ELFSPO) Elf on the Shelf is a magical Scout Elf helper who helps Santa manage his naughty and nice lists by reporting back to him at the North Pole. Each morning he returns to the house and winds up in all sorts of places and positions. Some of these are hilarious! Sometimes the whole “what on earth am I going to do with the bloody Elf for tomorrow” is a bit overwhelming. So take some inspo from all these photos, add your own twist and just have some fun. It doesn’t need to be insta worthy, it just needs to put a smile on the kids faces right? Oh and if you come up with some cracking ideas and want them included here, flick them through to us through Facebook, Insta or email us! click here to buy an elf on the shelf and accessories
-

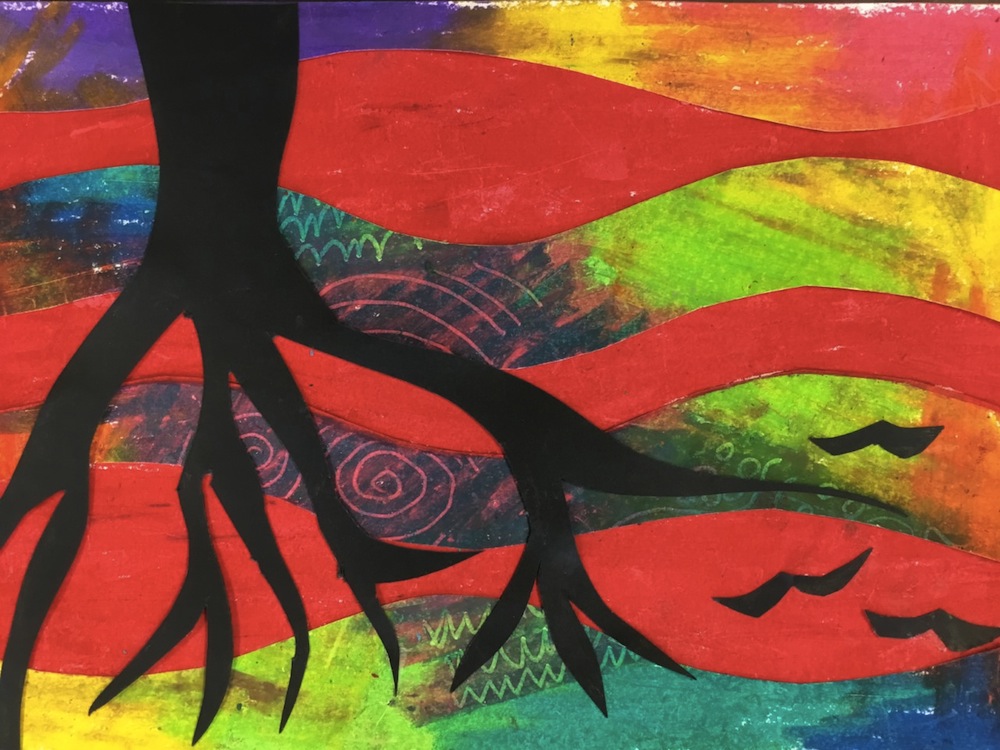
If your house is similar to mine, where your children are slightly obsessed with scratch paper – then this art is for you! The absolute thrill of scratching off the top colour to find another nestled beneath is akin to magic for our little and big children. However, the cost of these magical papers is quite astounding…so, let’s make our own! You will need: A4 paperA scratch tool (or something pointy – I use the end of a paintbrush for my kids when they are fighting over our scratch tool!)A pack of Oil Pastels – I used Micador, but any brand will work. Office works sell Faber-Castell and Staedtler oil pastels for under $10, as would most stationary stores.Great arm muscles!!! The arts learning is about layering, as you will need to layer dark over light colours, for this to work really, really well. Apart from that, the process is simple! Begin by creating patches of lighter colours all over the page. You will need to press really hard and make the pastels look thick, not showing any white from the page behind. It doesn’t not matter where you put the colour, or the shapes that you make…there are NO…
-
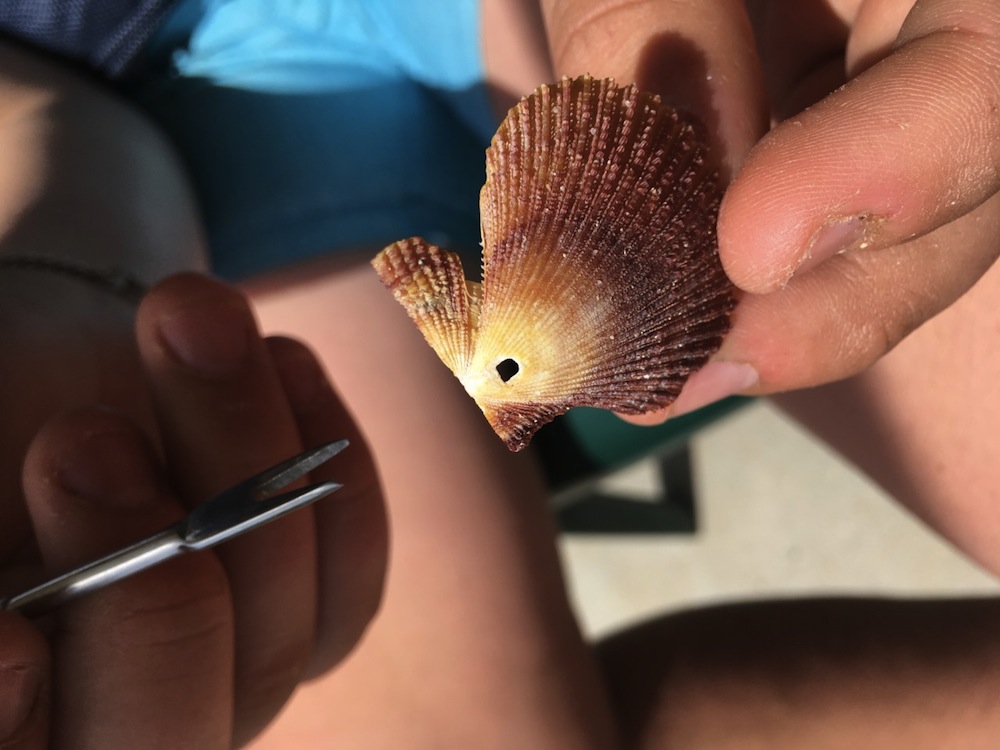
We explored Mindfulness in Art with our last instalment on Kids in Adelaide with Nature Mandalas, with objects collected from the beach and the dunes. Thanks for the great images that came in with your beautiful mandalas…..amazing!! In this instalment of Mindfulness in Art we are using all the beautiful shells we collected for our nature mandala to create a mobile. A project like this is even more satisfying when you are on holidays, creating beautiful memories and you can bring home an artwork to hang on your walls forever! You will need the following: * Shells from the beach – it is so much easier to collect shells that already have a small hole already in them…. * Small metal skewer for poking holes, or even a thick darning needle or tiny screwdriver (Mum’s you will need to do the hole creating as this is an extremely hard task….not so much mindfulness in this part, just patience!!!) * Piece of drift wood * Fishing wire * Scissors Have all of your beautiful shells cleaned and dry. Talk with your child about the type of pattern you would like to create with your shells. We used 4 lines with three…