")


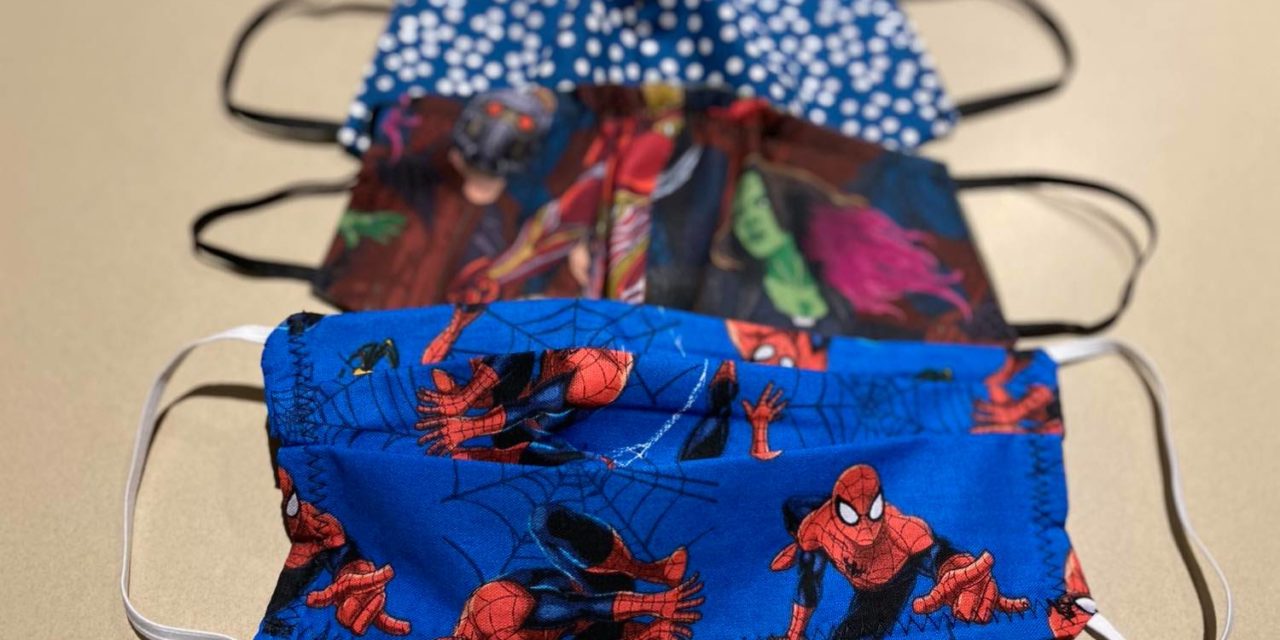
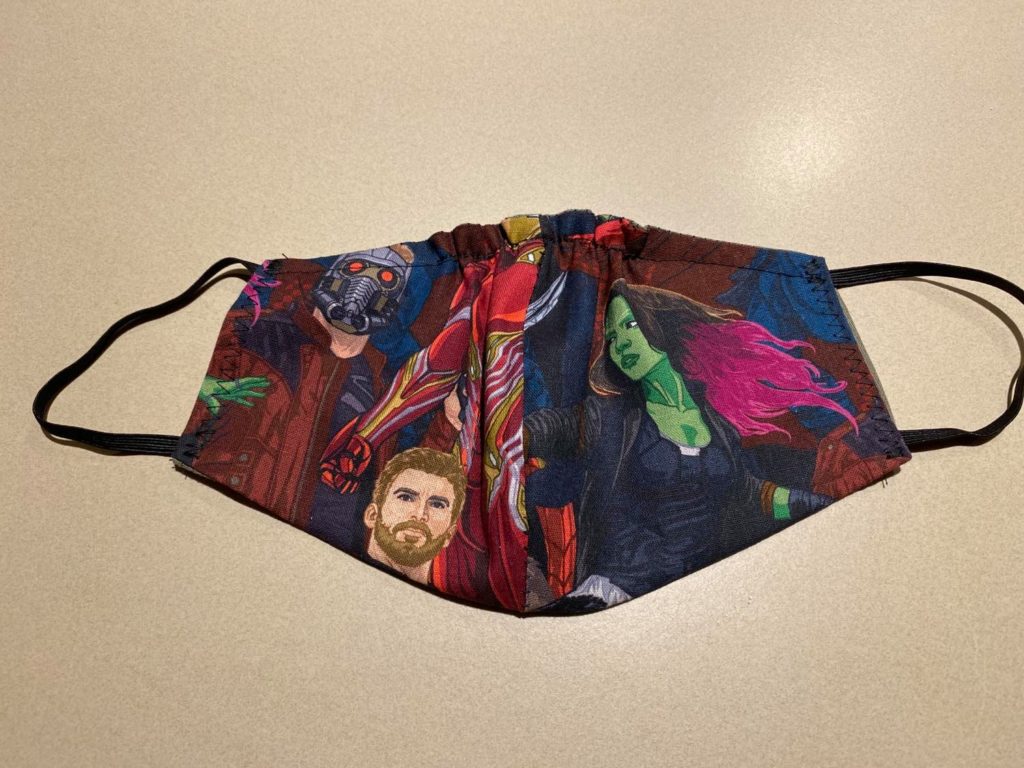
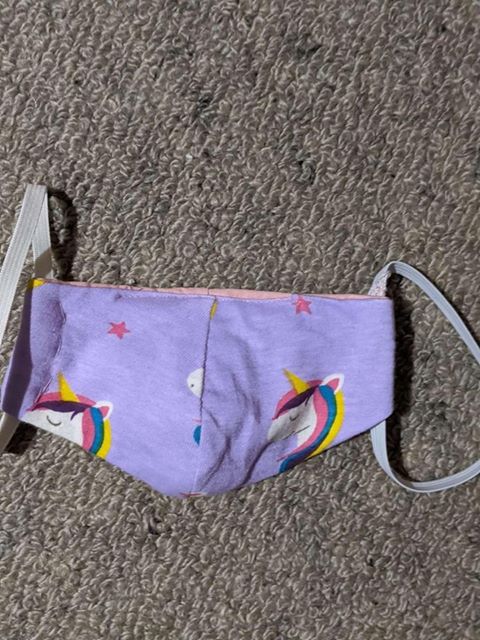
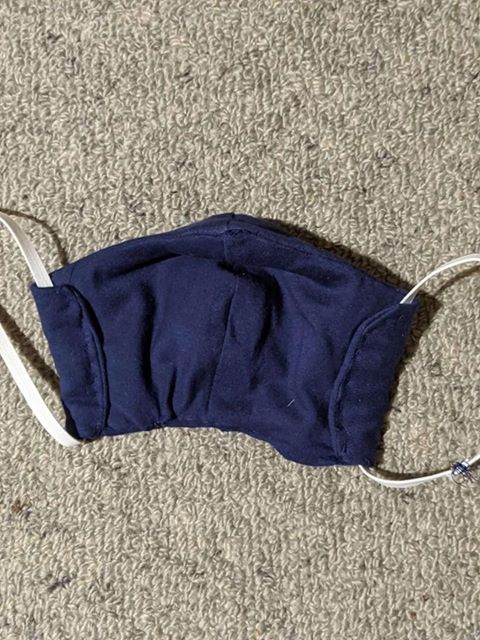
This week we found a fantastic little project page through Spotlight (you can find the link here) where you can make your own face masks.
Thankfully here in SA it isn’t quite mandatory to wear masks due to Covid-19 like it is elsewhere, but it may be worth preparing just in case and this seemed a cool way to get the kids involved and hopefully make something they will wear!
Spotlight’s page have some fantastic tutorials and instructions (Download free pattern here) but we found it best to use a tightly woven cotton and printed poly cotton. You can also use broad cloth or top pop cotton though. We used top pop for the middle layer as it needs to absorb moisture, so any material similar to pillow protectors are suitable for the middle layers.
All this info was given to us by the uber helpful staff at Spotlight when we went in and asked for help.

You might also be interested in
-

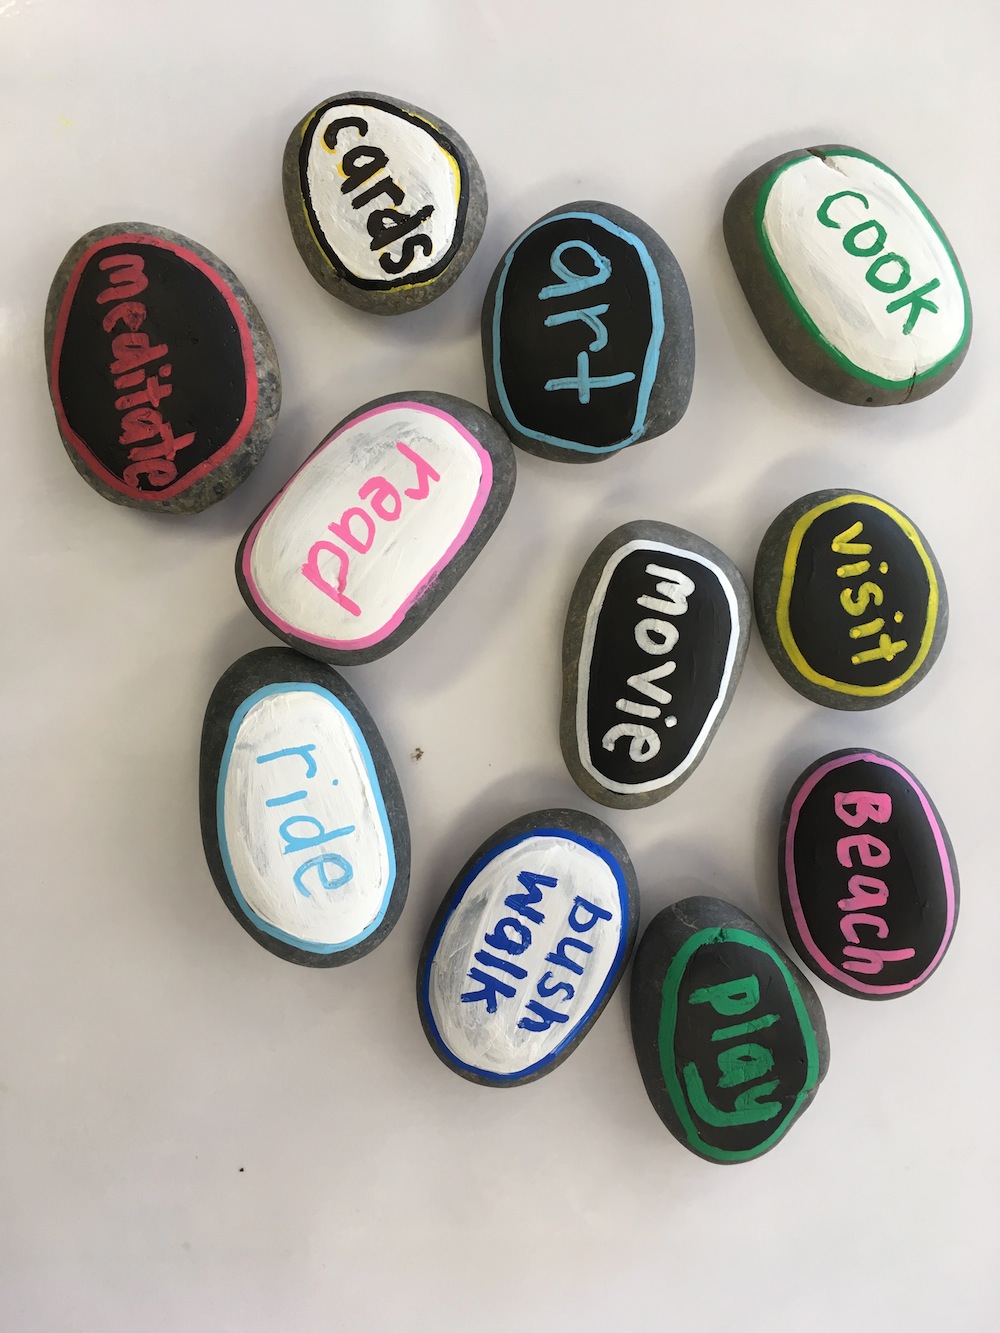
Love Stones for Daddies The Fathers in this world hold their children in their arms and hearts and carry the thought of them all through their days. For this, we are so very grateful. Love Stones for Daddies is a beautiful gift idea for Father’s Day. It allows your child to think of all the things that they would love to do, or already do, with their Dads and they get to pick a love stone when ever the need arises – for sharing special times together. You will need the following: Black and white acrylic paint – or just choose what you like best from the images and keep it simple!Poska textas – these are paint textas and you can buy them from Officeworks or a good art storeSmall paintbrushBox or container for your stones to go into. This is a great opportunity to go to an Op-Shop with your child and look for something that you can recycle, such as an old biscuit tin, crate or fancy vase. You just need to be able to fit Dad’s hand into it!Clear Varnish – spray or paint: a good art store has the spray and its really easy to use.…
-

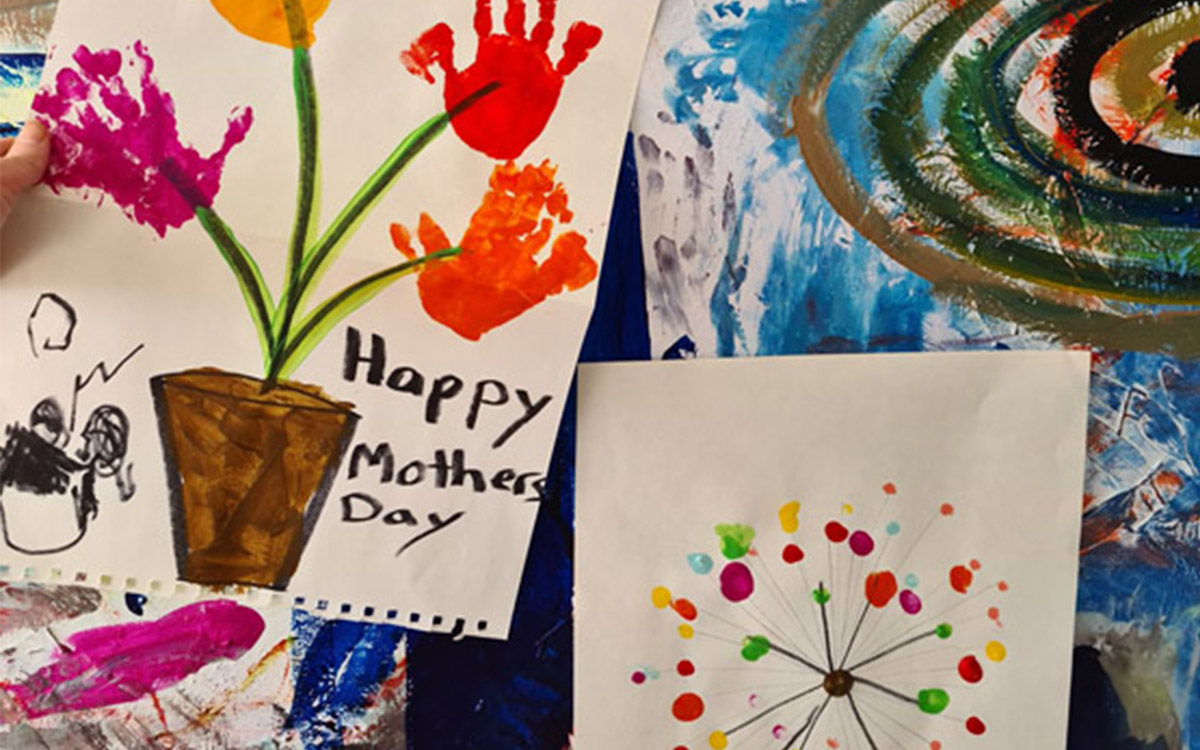
This Mother’s Day is an opportunity for lot’s of dads to be involved (if they’re at home) to help make it extra special, or maybe older siblings can be given the opportunity to create with little ones, if you’re a hardworking solo parent!Many Mums have been at home with their children 24/7 for weeks on end now, with no respite, chance to have some time on their own or to reenergize, which, let’s face it, we all need to be the best we can be!Motherhood is all consuming, and yes, we wouldn’t have it any other way, but taking time out for ourselves is an extremely important aspect of having the energy to keep up with our little people!Here are five art/craft activities to help mum feel special. It doesn’t need to be expensive as it’s the thought that counts (but go right ahead if you were thinking of ordering that dress we tagged you in on insta or buying that diamond ring, we won’t say no!) Hand print bouquet You will need: Paper or card stockPaintTexta Method:Draw a pot and some lines coming out. Paint your child’s hand and print to create flowers!Write a nice message for mum or…
-

Resilient Kidz is the paediatrics department of Resilient Health Group, a trusted multi-disciplinary centre offering Disability Services and therapies, Support Services, Allied Health, and Group Programs for children. The team supports South Australian children and adolescents (0–18 years) living with disability, developmental delay, or social and emotional challenges — empowering them to reach their full potential through compassionate, individualised care. Resilient Kidz has been working with young individuals in Adelaide and surrounding suburbs since 2019. Service areas include the Northern suburbs (Salisbury, Elizabeth, Modbury and more), Southern suburbs (Marion, Morphett Vale, Noarlunga and more), Eastern suburbs (Norwood, Magill, Burnside and more), and Western suburbs (Henley Beach, Port Adelaide, Semaphore and more). Small Group Programs The inclusive group programs are thoughtfully designed for primary school–aged children of all abilities and experience levels. Resilient Kidz welcomes young people living with disability, developmental delay, or social and emotional challenges — as well as any child who would love to participate in extracurricular activities but may benefit from additional support. Within a warm and welcoming small-group environment, children are encouraged to build confidence, develop meaningful social connections, and discover their strengths at their own pace. Every child is supported to feel capable, included, and…