")

")

We explored Mindfulness in Art with our last instalment on Kids in Adelaide with the Shell Mobiles you created from your slow walks along the beach…or fast walks if your children are smaller and faster!
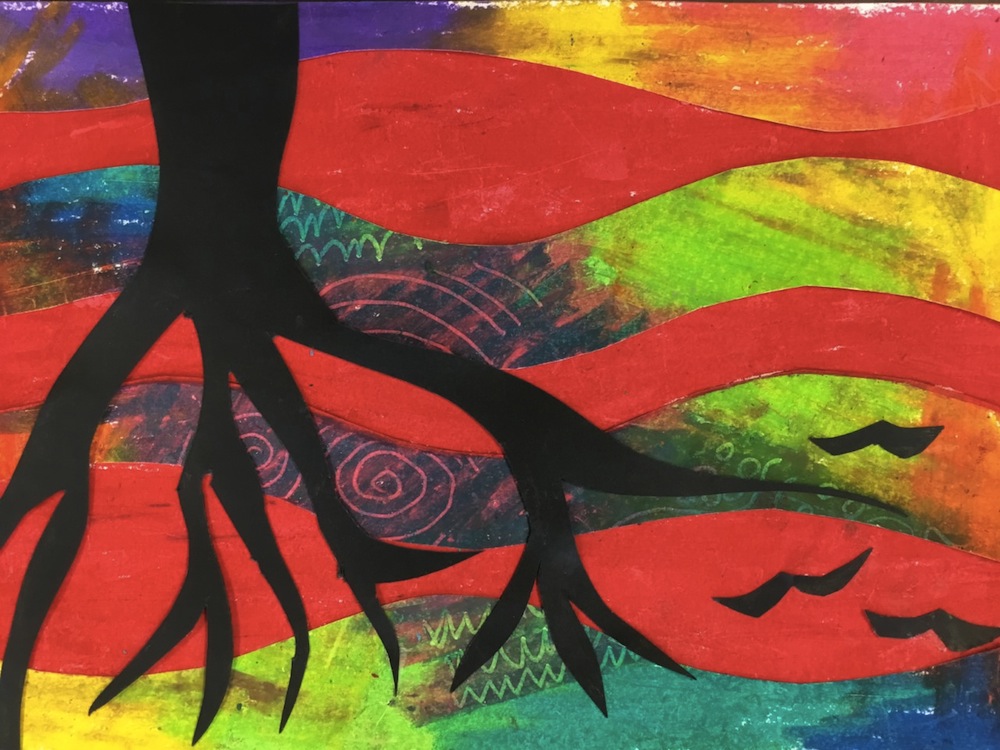
In this instalment of Mindfulness in Art we are using nothing but our own bodies and our imaginations. This activity can be used from children as young as three to your teenagers, boy or girl! Regardless of age, it is engaging and teaches the pattern as a visual element of art through the slow and repetitious repeating structure of line and form. This echoes the elements of an artwork to communicate a sense of balance, rhythm and movement.
My 13 year old son created the following art work and found the experience satisfying and soothing, especially with his favourite music playing in the background. Children in the art room from Reception to Year 6 also find this activity engaging and the noise levels drop rapidly as they all start focusing on patterns and colours.
Bliss!
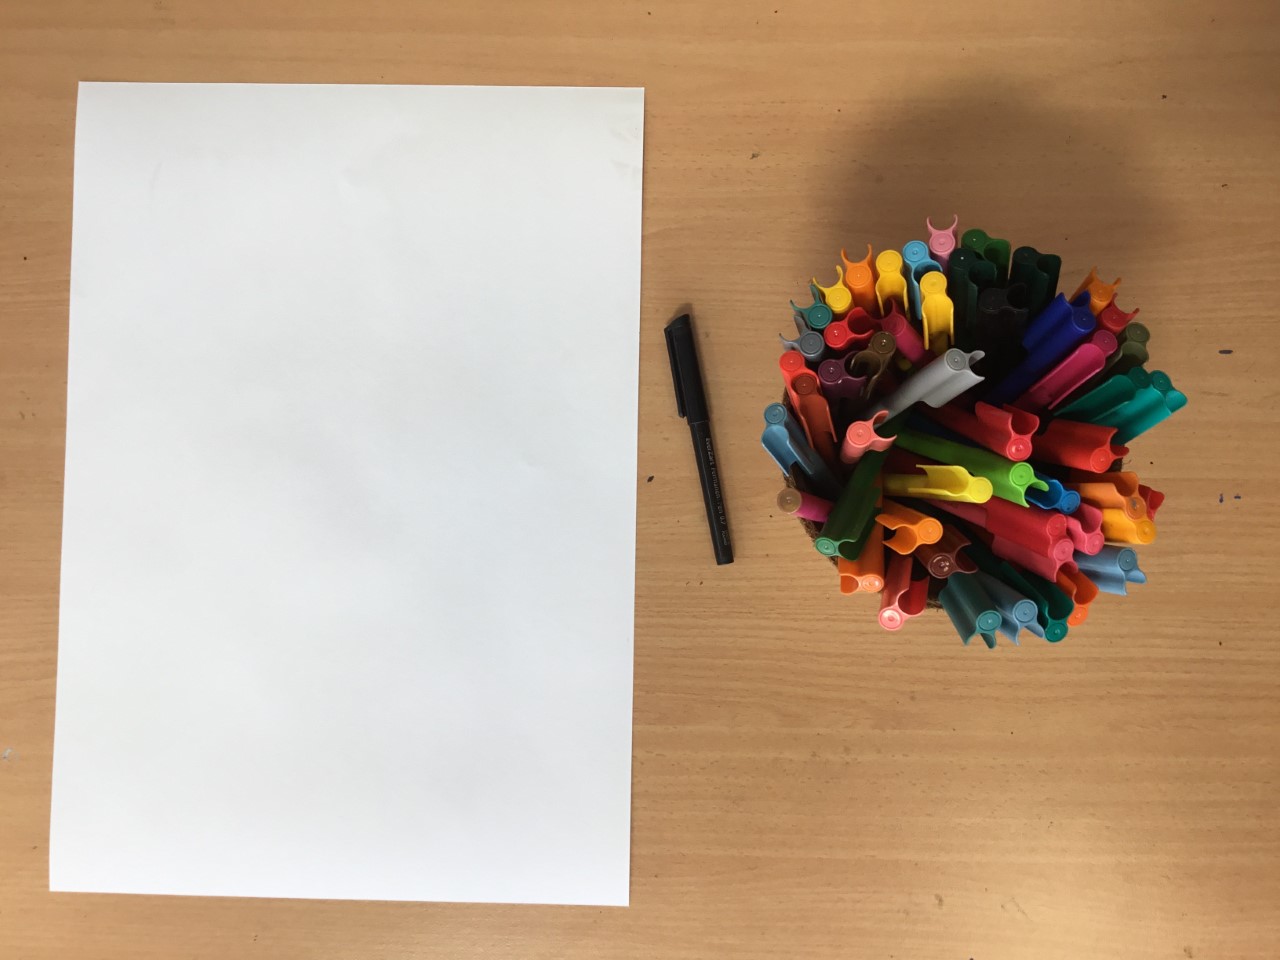
You will need the following:
* A pencil and eraser for drafting,
* A thin black F-pen or something similar for the outlines,
* Pencils or textas for colouring,
* A3 paper or smaller for your surface,
* A lovely arm to trace!
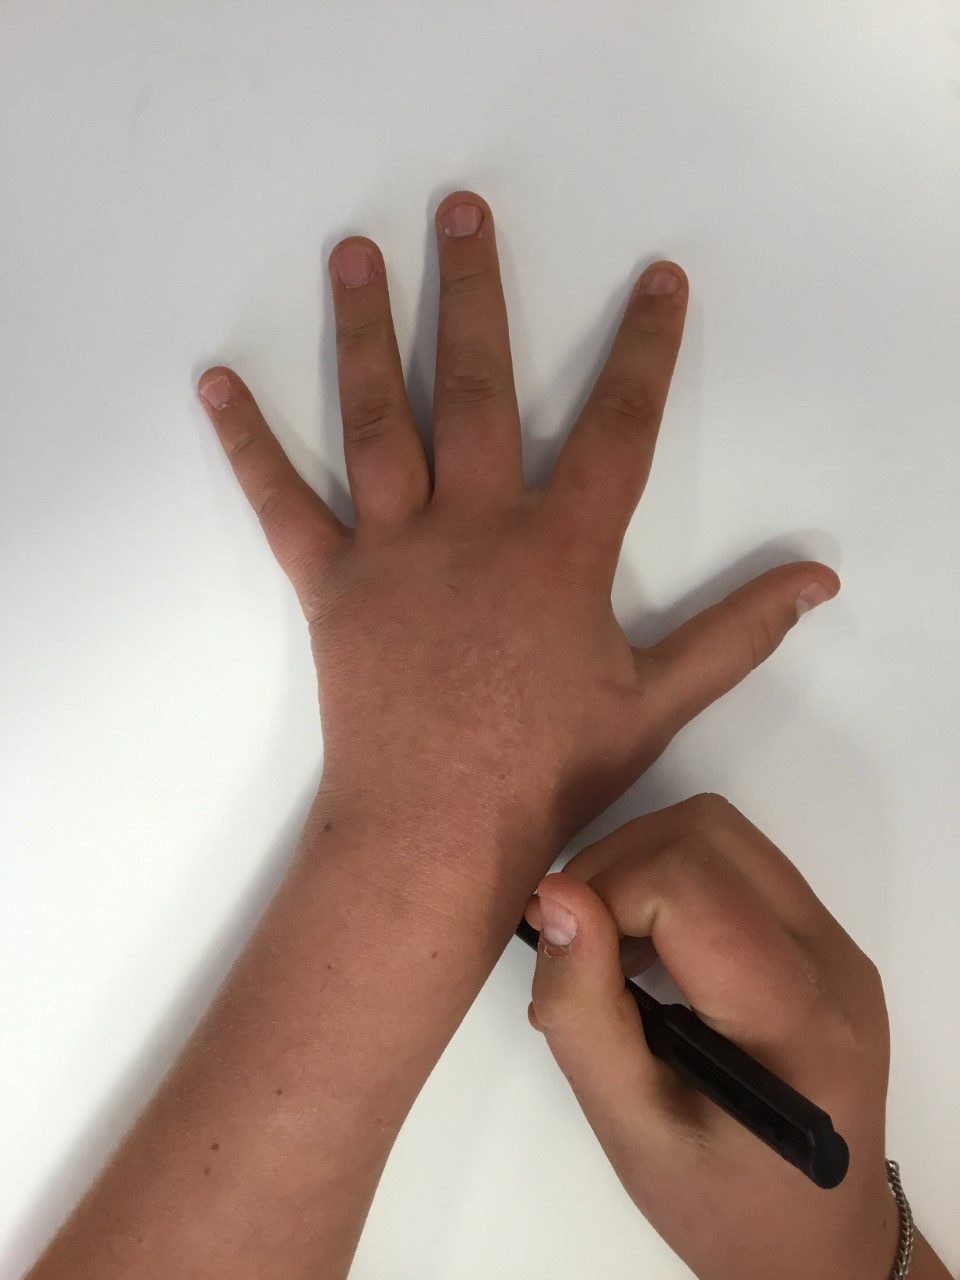
You will need to trace your arm and hand first. If you are working with small children, remind them to push the pencil up against the surface of their arm and hand. This helps their spatial awareness understanding as they can see and feel where their body starts and ends.
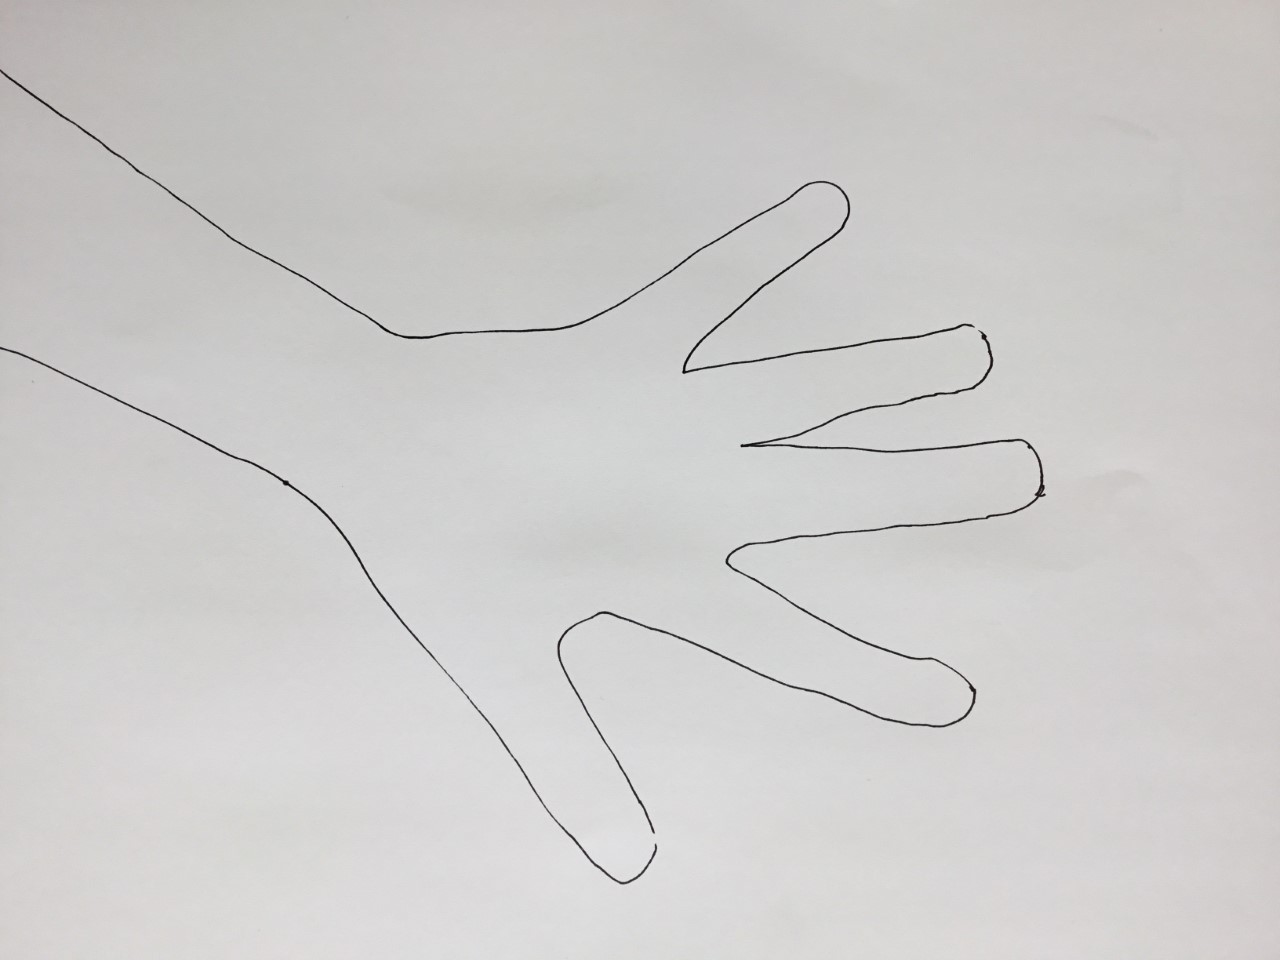
Depending on the age level, children can then draft their patterns and lines with pencil or just be very confident and create marks directly onto their paper with their F-Pen. Lines can go directly against each other, much like a mandala, or keep space between elements to further create balance and harmony.
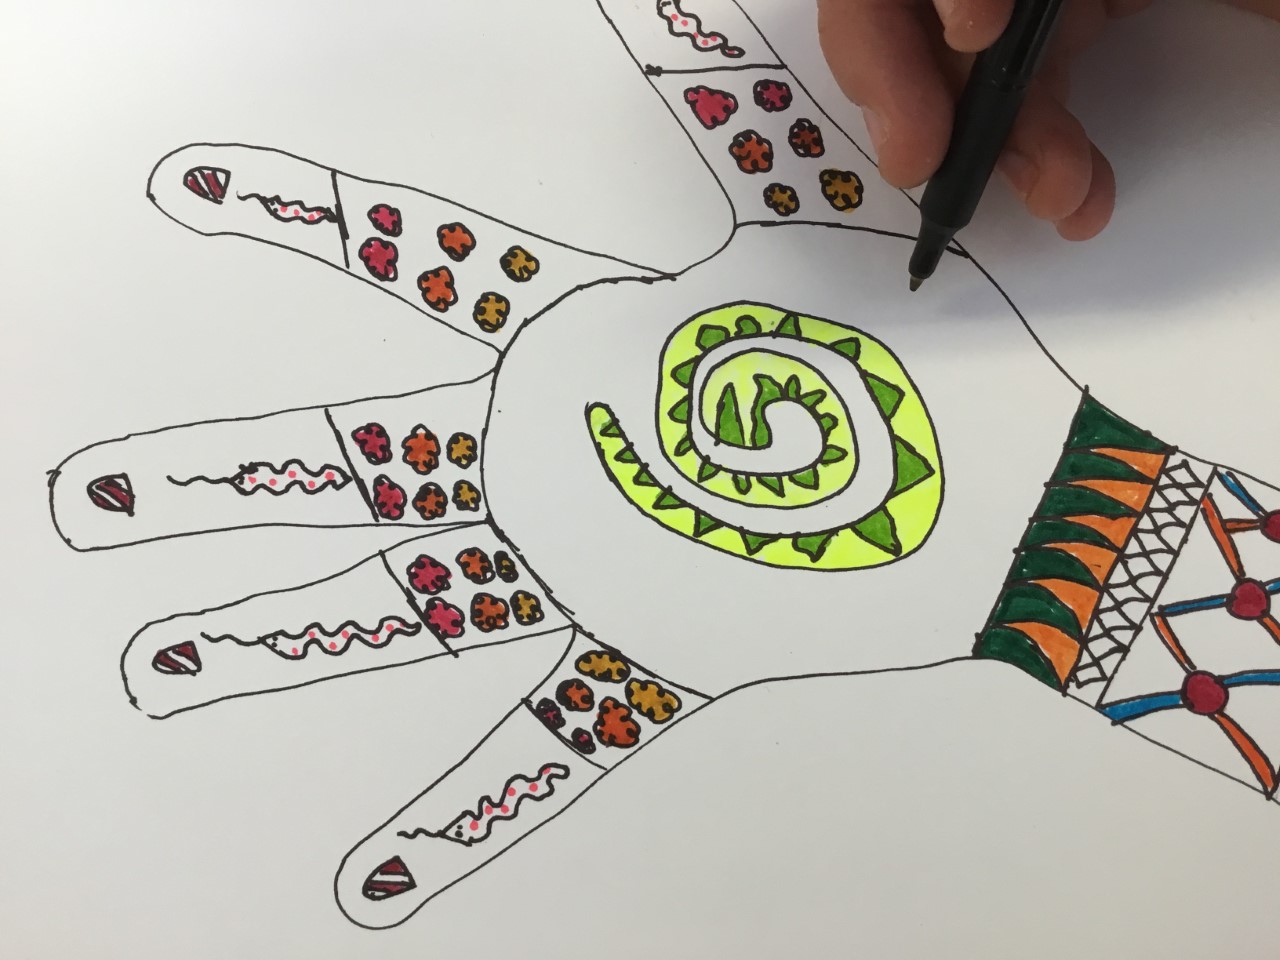
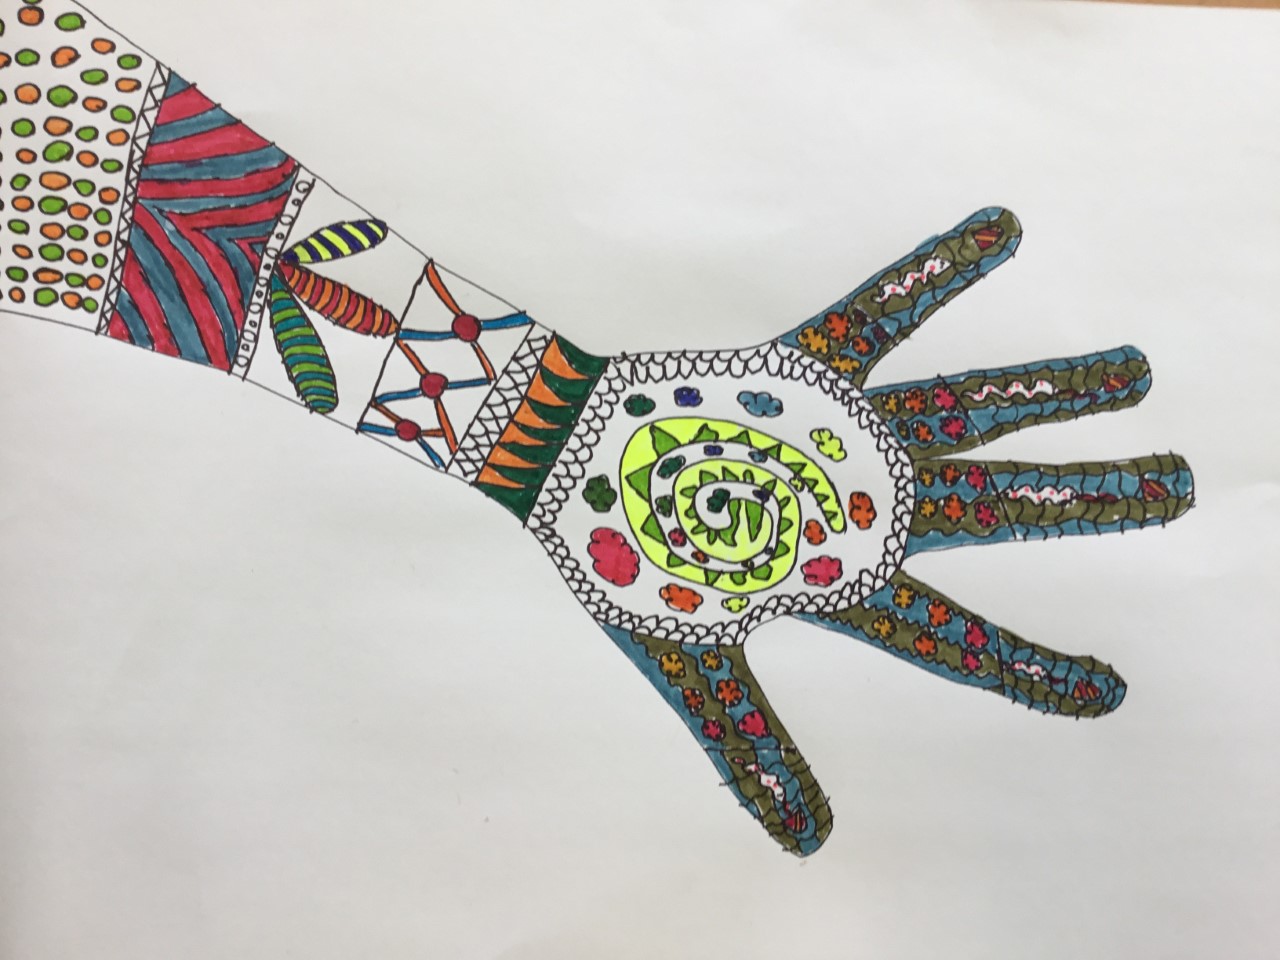
Once the lines are in, pencil or otherwise, children can begin to colour their hand and arm to create a beautiful patternation and design, contained within their own beautiful body.
Supremely satisfying!
And Mums….breathe and release! And then create your own hand/arm creation over a glass of wine or herbal tea!
Namaste X
You might also be interested in
-

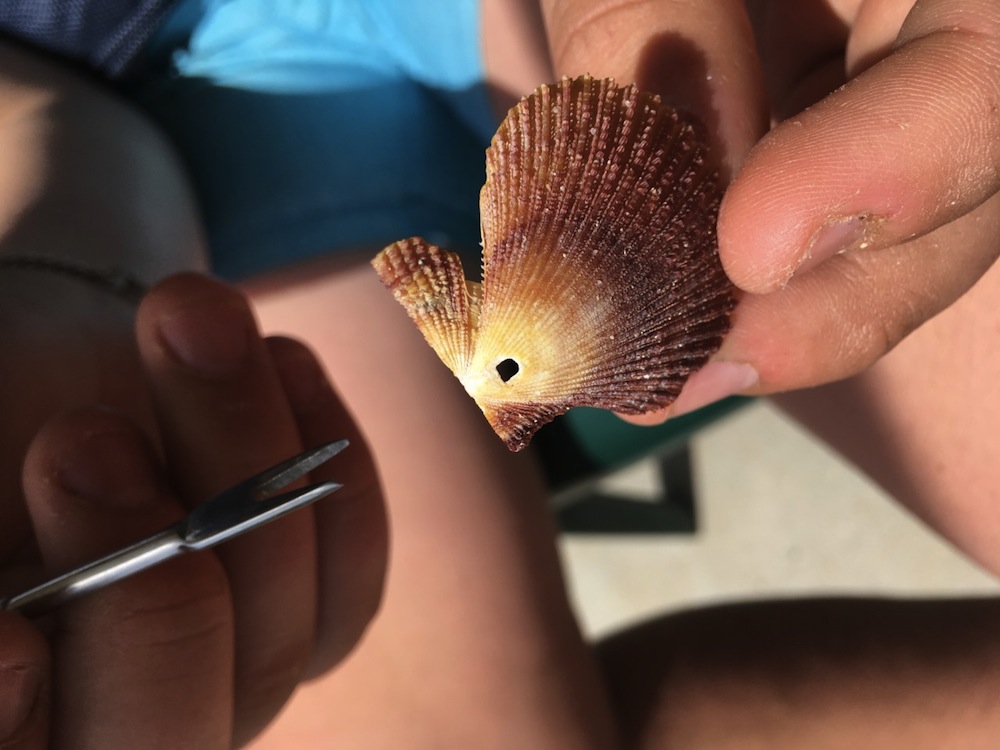
We explored Mindfulness in Art with our last instalment on Kids in Adelaide with Nature Mandalas, with objects collected from the beach and the dunes. Thanks for the great images that came in with your beautiful mandalas…..amazing!! In this instalment of Mindfulness in Art we are using all the beautiful shells we collected for our nature mandala to create a mobile. A project like this is even more satisfying when you are on holidays, creating beautiful memories and you can bring home an artwork to hang on your walls forever! You will need the following: * Shells from the beach – it is so much easier to collect shells that already have a small hole already in them…. * Small metal skewer for poking holes, or even a thick darning needle or tiny screwdriver (Mum’s you will need to do the hole creating as this is an extremely hard task….not so much mindfulness in this part, just patience!!!) * Piece of drift wood * Fishing wire * Scissors Have all of your beautiful shells cleaned and dry. Talk with your child about the type of pattern you would like to create with your shells. We used 4 lines with three…
-

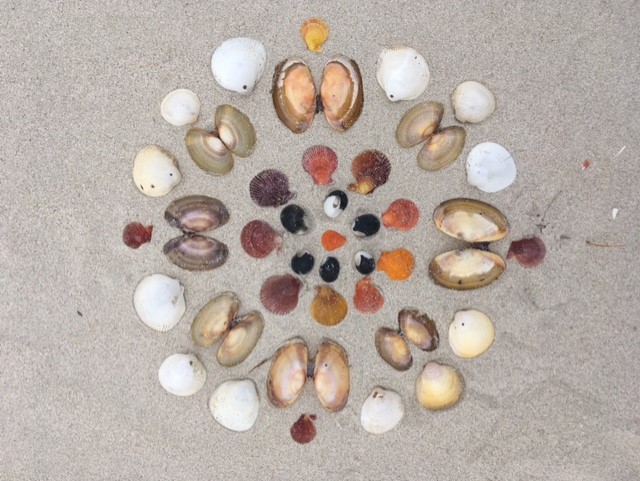
As the warmer weather is approaching and we are able to enjoy our parks and beaches again I want to explore two of my favourite things…art and mindfulness! We can create art anywhere! It is such a great medium to allow us to be ‘present’ or ‘in the moment’ as we are thinking and concentrating on creating, allowing the pace of the world to just slow down. So welcome to the first part of Mindfulness in Art! Nature Mandalas A Mandala is a Sanskrit word meaning ‘Circle’ and represents harmony and balance. Nature mandalas can be made anywhere, with anything! I was lucky enough to spend some time on the beautiful Kangaroo Island in the holidays and collected shells and plants with my boys to create mandalas on the beach. You need to start at the centre and place your collections in a pattern, from the middle and working out to the sides. As my canvas was huge (the whole beach) I just needed to decide when it looked balanced and in harmony. During this quiet time, we were also able to observe (due to the silent time) a pair of nesting oyster catchers quietly going about their business…
-
If your house is similar to mine, where your children are slightly obsessed with scratch paper – then this art is for you! The absolute thrill of scratching off the top colour to find another nestled beneath is akin to magic for our little and big children. However, the cost of these magical papers is quite astounding…so, let’s make our own! You will need: A4 paperA scratch tool (or something pointy – I use the end of a paintbrush for my kids when they are fighting over our scratch tool!)A pack of Oil Pastels – I used Micador, but any brand will work. Office works sell Faber-Castell and Staedtler oil pastels for under $10, as would most stationary stores.Great arm muscles!!! The arts learning is about layering, as you will need to layer dark over light colours, for this to work really, really well. Apart from that, the process is simple! Begin by creating patches of lighter colours all over the page. You will need to press really hard and make the pastels look thick, not showing any white from the page behind. It doesn’t not matter where you put the colour, or the shapes that you make…there are NO…