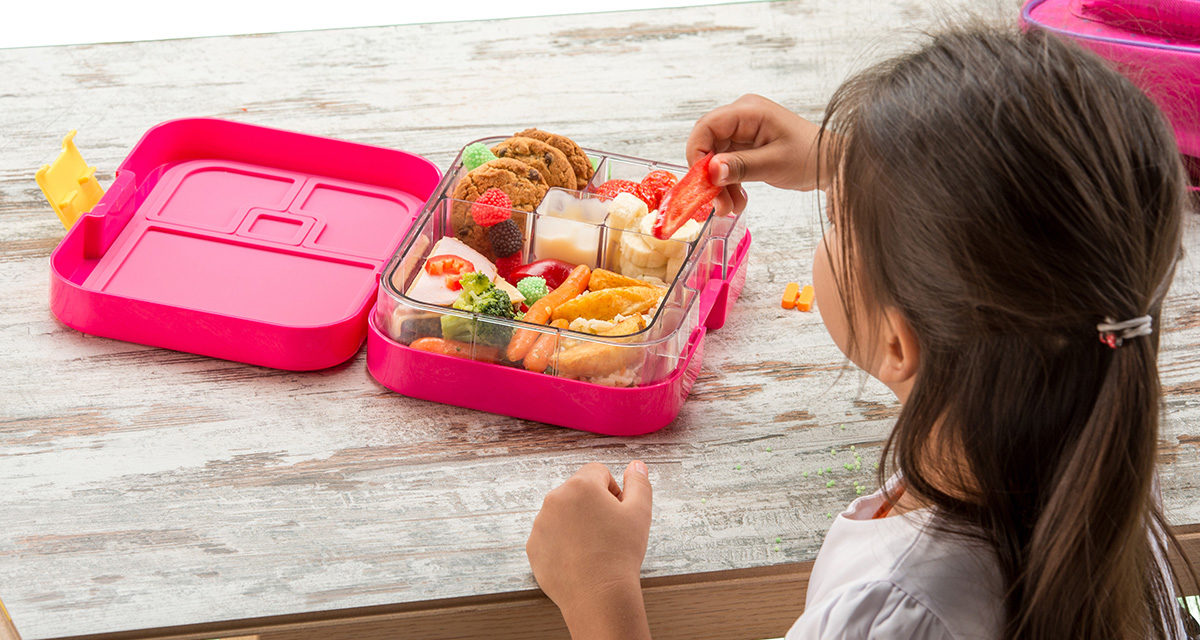
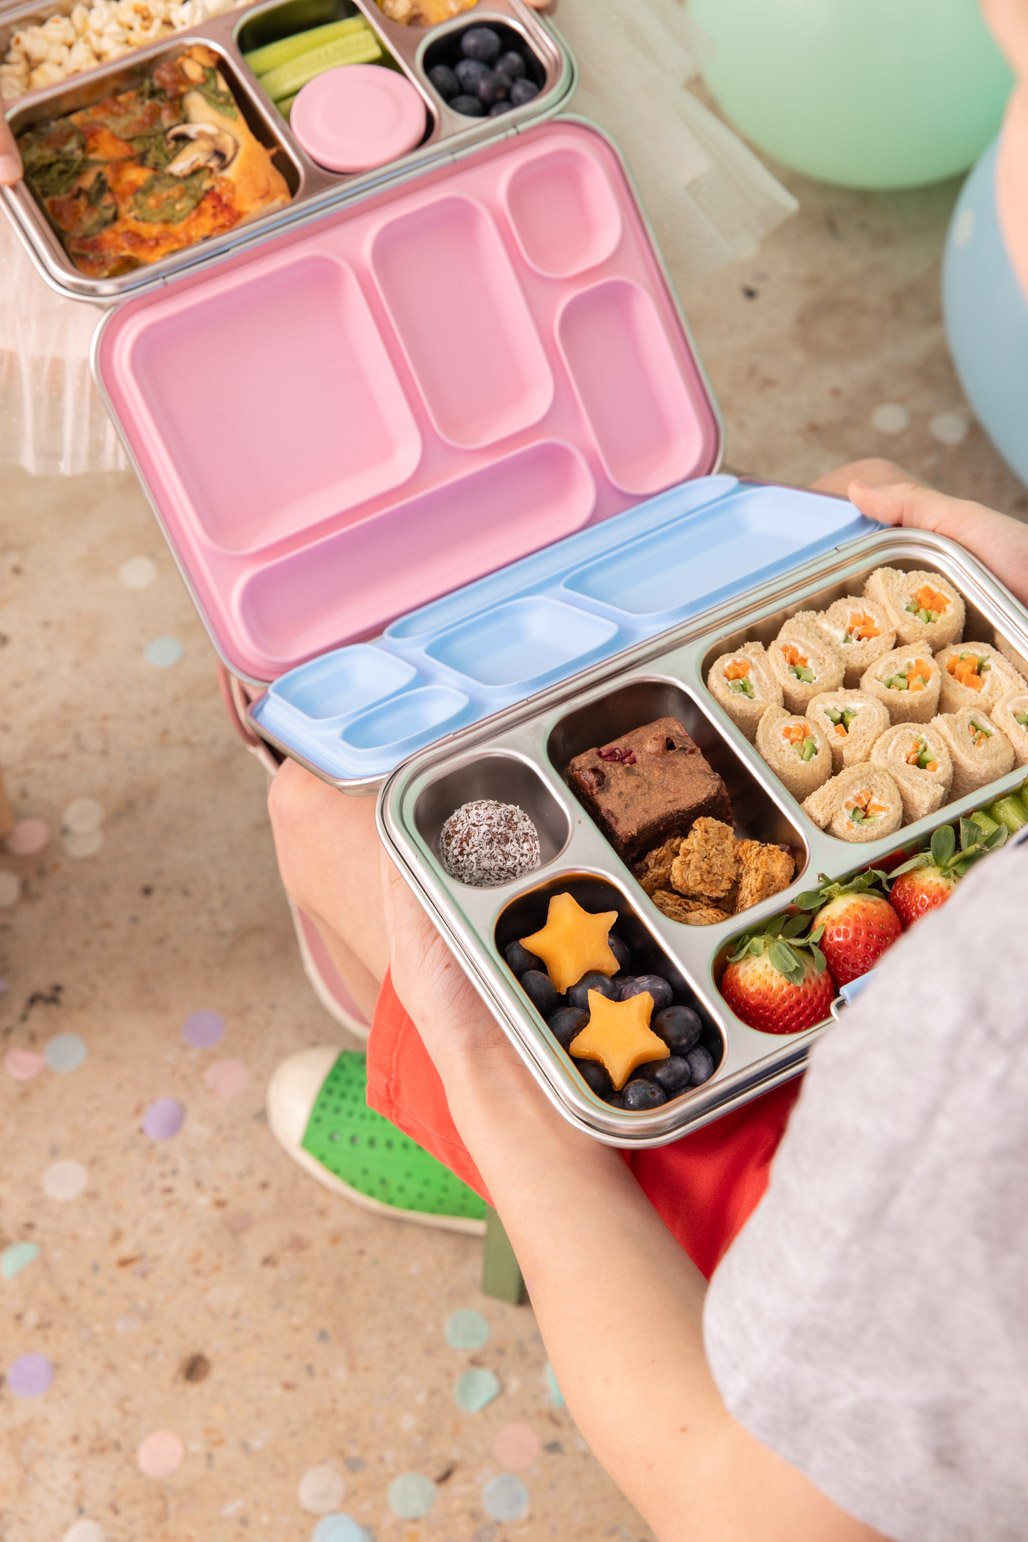
It’s always hard to come up with nutritious lunchbox ideas that your kids will actually eat, isn’t it? With the amount of kids we have between us here at Kids in Adelaide, and the number of lunchboxes we put together any given week we’ve asked around the team and put together some great (and simple!) lunchbox recipes and tips that are guaranteed to be a winner with even the fussiest of kids.
The key to packing lunchboxes for your kids is to remember the golden rule: Kids want to play!
They don’t want to spend their entire recess or lunch break unwrapping beautifully designed food. They want to be on the soccer pitch. They want to be creating a new dance routine. They want to be on the Handball court. They want to be with their friends! So take the stress out of lunchboxes and make what’s in them easy. Better for the kids concentration, dental health and energy levels, and better for your time management, stress levels and hopefully this will result in less wasted food too!
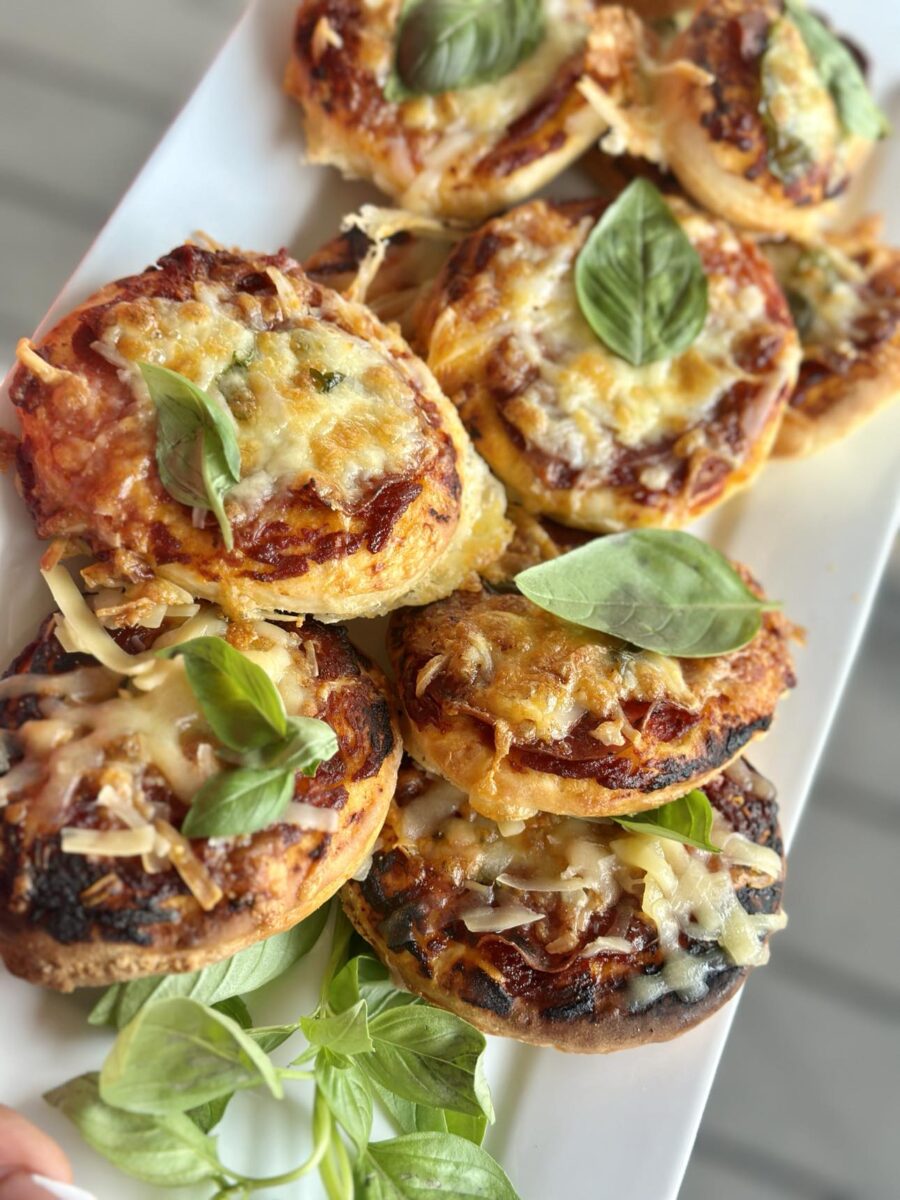
Two Ingredient Pizza Dough
Kids love pizza, and this two ingredient pizza dough is easy, fluffy and foolproof. We love it for mini pizzas, but also use it for sweet and savory scrolls. It freezes well and it honestly doesn’t get any easier than this. Top them however you like, our kids like salami and cheese, ham and cheese, and really plain margherita. Fancy them up with fetta and basil if you wish.
Like a lot of things, we often double the recipe and freeze in air tight bags or containers. Perfect for lunch boxes or slightly warmed for a delicious after school / sport snack. So easy that the kids themselves can make these. That’s a win.
Ingredients:
1 + 1/2 cups of SR Flour
1 cup Greek Yoghurt
Method:
Preheat the oven (or air fryer to 200 degrees) line a tray with baking paper.
In a medium bowl mix together flour and yoghurt as much as you can, and then get clean hands in there to form a ball. Lightly need on a floured bench, roll to desired thickness (allow for a bit of shrinkage) and cur to desired circle sizes. (You could try an egg ring six, or perhaps use a Tupperware style round container as a cutter)
Top with tomato paste, cheese, mixed herbs, salami or toppings of your choice
Bake for 10-14 minutes or cooked but not too crispy.
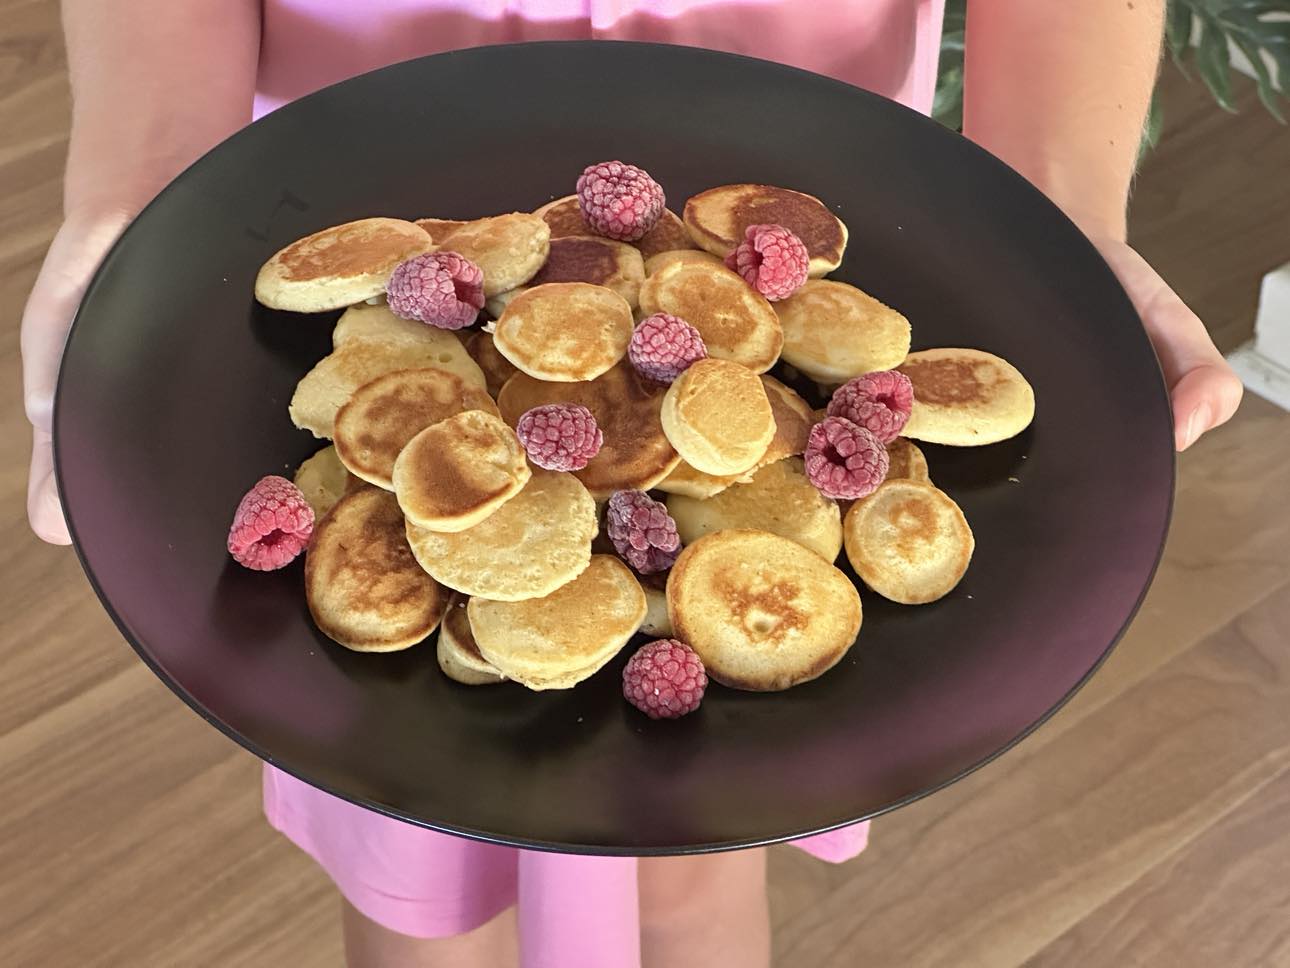
Fruit Smash Pikelets
Preparation time: 20 minutes
Cooking time: 5-10 minutes
Serves: 18
Easy and delicious, add three tablespoons of any smashed or puréed fruit to these cute pikelets, or enjoy them plain. We like smashed banana or raspberries or stewed apple. Suitable to freeze in an airtight ziplock bag and pop into school lunchboxes on those busy mornings!
Ingredients
1 cup self raising flour
1 large egg
1/2 cup of milk
1 teaspoon of vinegar or lemon juice
2 tablespoons sugar
2 teaspoons of melted butter
Extra butter for your frypan
Method
Add vinegar to milk and set aside to sour for five mins
Mix all other ingredients in a medium bowl with a whisk until combined
Add desired smashed fruit (or opt out)
Warm a frypan and add a teaspoon of butter
Add table spoon sized blobs to your pan
When bubbles appear, flip ’em
Cook one minute on the second side
Serve and enjoy or cool and add to zip lock bag with air removed for freezer storage
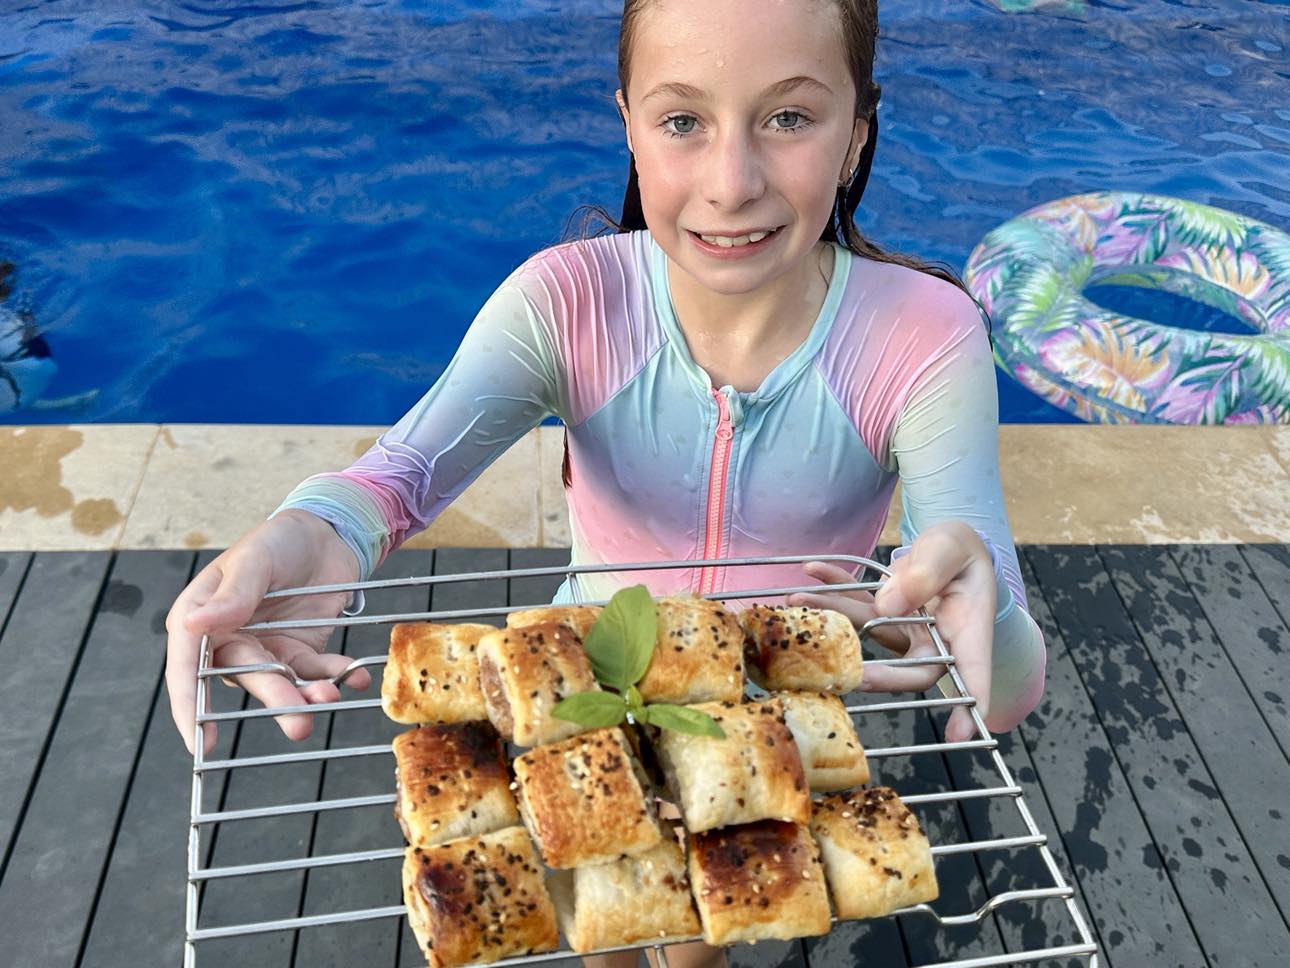
Lazy Sausage Rolls
Ok so the cheat is, you squeeze sausage meat out of a sausage to make the sausage roll. Whip these beauties up from scratch in under 15 minutes. Freeze them, or send them fresh out of the air fryer to school! Fancy them up with sesame seeds or Everything Bagel seasoning on top.
Ingredients
2 sheets of puff pastry
4 sausages of your choice (we like thick continental pork and fennel)
1 beaten egg for pastry wash
Optional sesame seeds or Everything Bagel Seasoning
Method
Thaw pastry sheets and score vertical down the middle so as two sheets will make four long sausage rolls. (Choose to cut them up into small bite sized pieces if you wish once assembled, before cooking)
Squeeze sausage meat out of skins to make your long sausage rolls.
Roll each and brush the tops with egg wash.
Cut into desired sizes and poke each with a fork.
Sprinkle with sesame or bagel seasoning before placing on a lined oven tray in a preheated, fan forced oven for 10-12 mins 220C (If air frying cook for 8-10 minutes)
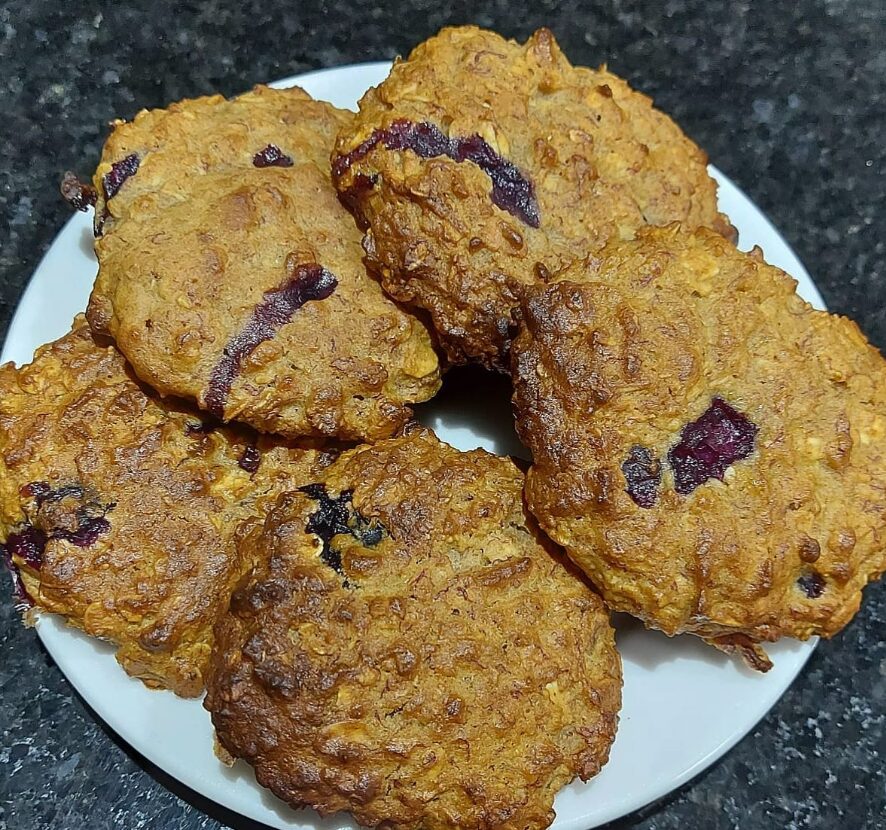
Banana Oat Biscuits
Biscuits are always a winner with kids, so when you find a recipe that’s delicious and includes great nutrients for your kid, it’s a win win!
Ingredients:
2 ripe bananas
2 eggs
2 tbs honey
2 tsps vanilla extract,
2 tbs olive oil
1 cup wholemeal spelt flour,
2 cups rolled oats
¼ cup blueberries,
1 tsp baking powder
Method:
Preheat oven to 180C; Mash bananas then mix in eggs, honey, vanilla and oil.
Add flour, rolled oats and blueberries. Stir all ingredients until combined.
Drop tablespoons of mixture onto tray lined with baking paper – flatten slightly with fork.
Bake for approximately 20 minutes or until golden brown.
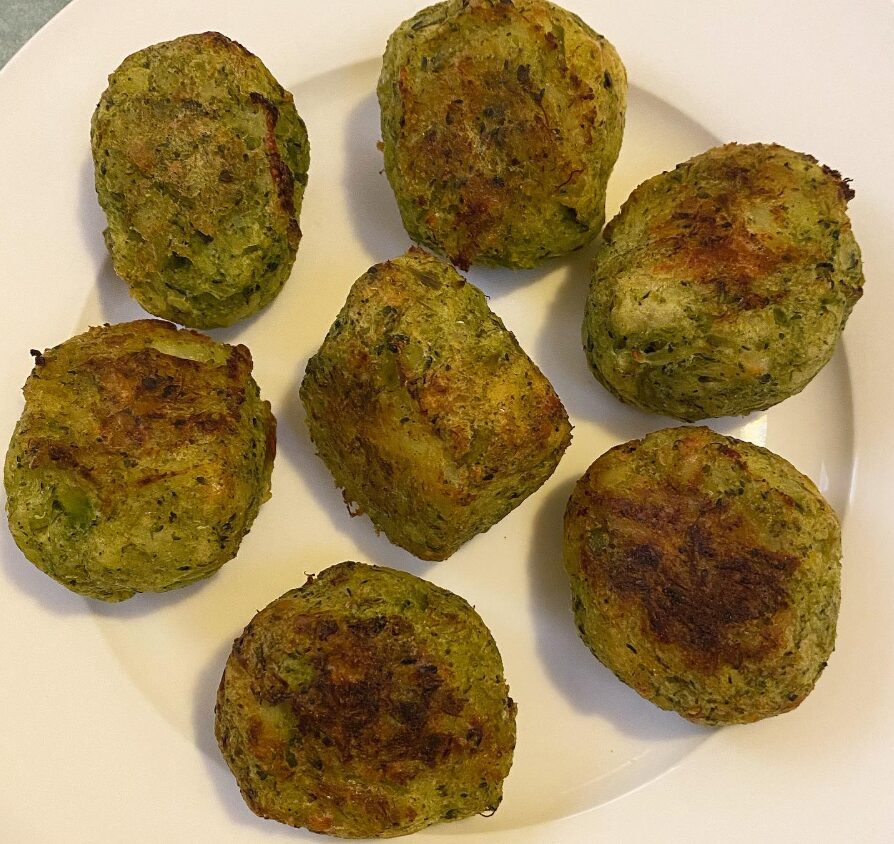
Broccoli Bites
Such a winner for kids of all ages, from first finger foods to school lunchboxes. AND, they’re full of flavour and nutrients!
Ingredients:
1 big head of broccoli,
3 large potatoes,
1 garlic clove, minced
egg, lightly beaten
¼ cup grated Parmesan Cheese,
Method:
Preheat oven to 180 C and line a baking tray with baking paper.
Place potatoes in a pot and cover with water. Boil potatoes and until tender but not falling apart. Drain and allow to cool.
Steam the broccoli florets in a steamer for around 5 minutes.
Place steam broccoli into a food processor and pulse until it is all in small pieces. Place into a large bowl.
Grate potatoes and add to the broccoli.
Add the mince garlic, egg and Parmesan to the bowl and mix together until well combined.
Using your hands create 20-30 bite size logs with the mixture. Place onto baking tray and into the freezer for 10 minutes to firm up.
Remove from freezer and brush with olive oil. Bake for 30-40 minutes until they are browned and crispy, flipping halfway through.
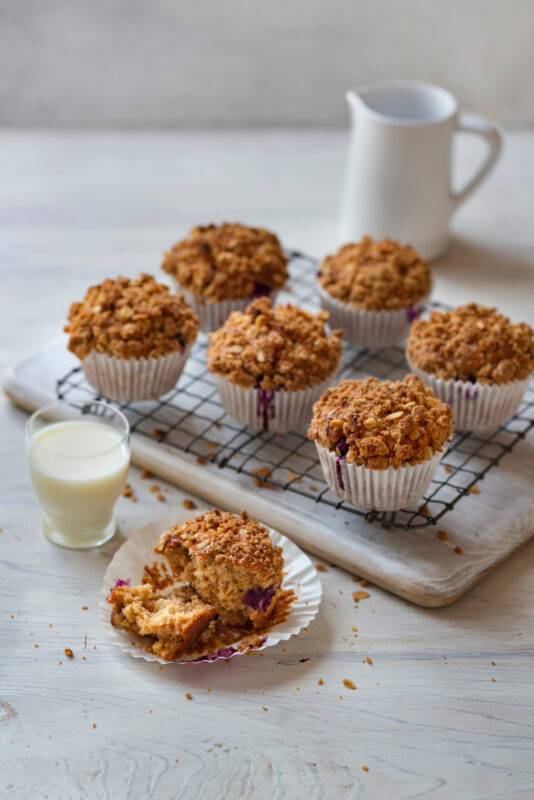
Apple & Blueberry Crumble Muffins
Preparation time: 20 minutes
Cooking time: 25 minutes
Serves: 12
Ingredients
2 Granny Smith apples
1 cup wholemeal self-raising flour
1 cup plain self-raising flour
2 teaspoons ground cinnamon
¾ cup light brown sugar
½ cup (125ml) olive oil
½ cup Greek yogurt
1/3 cup milk
2 extra-large eggs, lightly beaten
1 teaspoon vanilla extract
½ cup fresh blueberries
Crumble topping:
½ cup plain flour
¼ cup light brown sugar
1 teaspoon ground cinnamon
60g unsalted butter, softened and diced
¼ cup rolled oats
Method
Preheat oven to 200°C (180°C fan-forced) and line a 12-hole standard muffin pan with paper cases.
To prepare apples, grate ½ cup of apple and finely dice ½ cup apple, both with skin on.
For the crumble, mix flour, sugar and cinnamon together. Add butter and rub together until mixture is well combined and starts clumping. Add oats and mix until well combined. Set aside until required.
For the muffins, add flours, cinnamon and sugar together in a medium mixing bowl, stirring to combine.
In a large jug add oil, yogurt, milk, eggs and vanilla, whisking to combine. Pour over the flour mixture, adding prepared apple and blueberries, stirring mixture until just combined.
Evenly divide mixture between paper cases and sprinkle over crumble mixture. Place muffin pan in preheated oven for 25 minutes or until a skewer comes out clean.
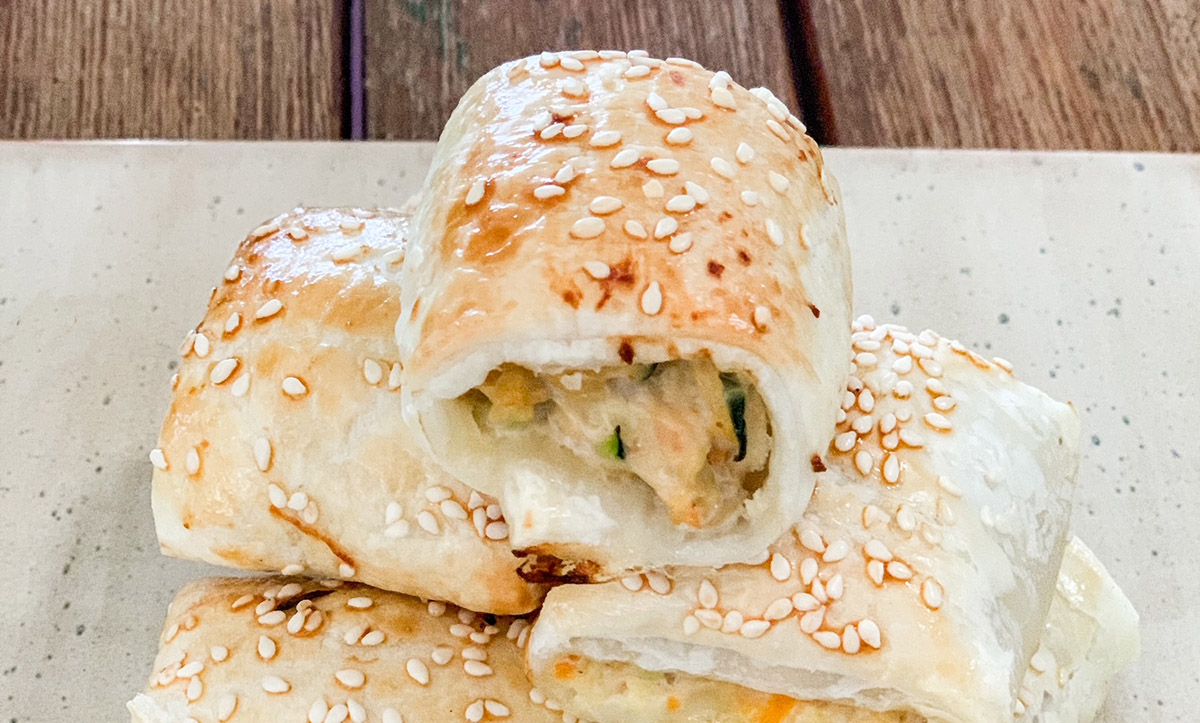
Chicken & Hidden Veg Sausage Rolls
Sausage Rolls are a kids staple, there’s not many kids out there who won’t smash a sausage roll for any meal. We love this recipe because it’s not only SUPER easy to make, the ingredients don’t cost much and it’s also got 4 serves of veggies in there! You can also mix it up and add any veggies your kids love, or ones you want them to eat. For a middle eastern inspired alternative swap chicken mince for lamb mince and worcestershire sauce for pomegranate molasses
We cook them in big batches and freeze them so they’re always there handy for when you need them.
Ingredients:
400 g chicken mince
1 grated carrot
1 grated zucchini
½ an onion grated
½ a parsnip grated
4 sheets frozen puff pastry just thawed
¼ cup of finely chopped parsley leaves
1-2 garlic cloves minced
Sesame seeds to top (optional)
2 eggs beaten (one for mixture one for brushing)
salt & pepper to taste
2 tablespoons tomato paste
1 tablespoon worcestershire sauce
1/4 a cup of wholemeal breadcrumbs
Method:
Preheat the oven to 200 degrees, place pastry sheets out to defrost and line a couple of baking trays with baking paper
In a medium bowl mix together mince, breadcrumbs, carrot, zucchini, onion, parsnip, garlic, worcestershire sauce, tomato paste, parsley & egg. Season with salt and pepper to taste.
Place one pastry sheet on floured surface and cut it in half. Spoon mixture onto pastry in the shape of a log lengthways along the middle of the pastry, leaving around .5cm at either end. Lift the other side of the pastry over and join it (try not to pull it too tight as it can break). Seal the edges by pressing down with a fork
Place sausage rolls onto baking trays. Brush with beaten egg (or milk) and sprinkle with sesame seeds
Bake for 20-25 minutes or until they are golden
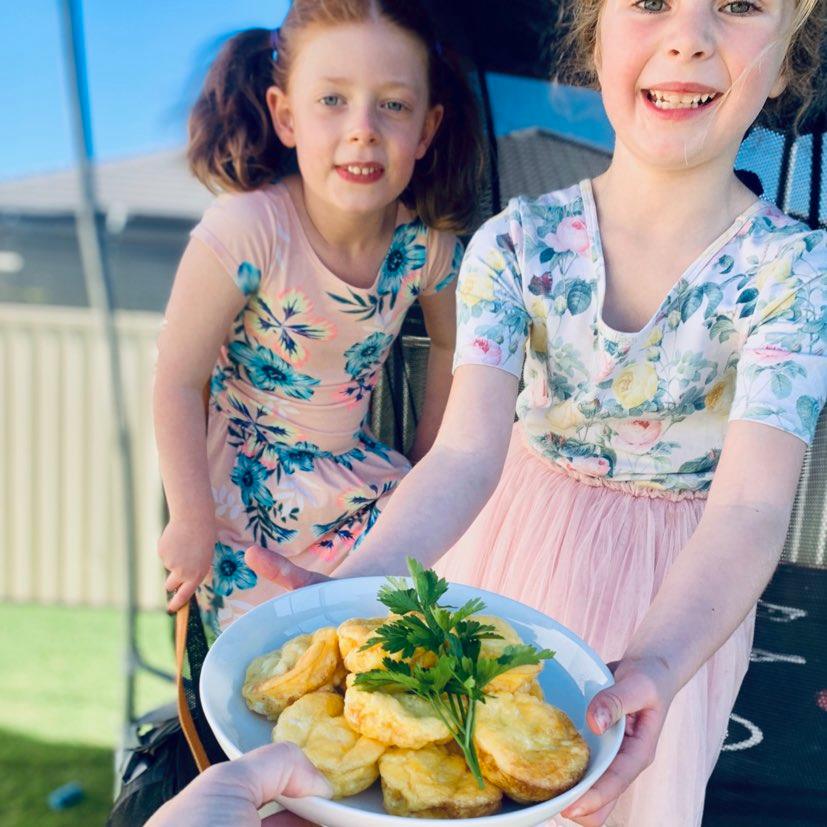
Easy Cheesy Bites
We are loving little Adelaide business Cook n Create and their healthy achievable ideas. Jacki decided to get the kids on to this quick recipe in the recent school holidays, because it was super easy. The kids easily managed to make a big batch of these for lunch and some spares for the freezer.
Note: The below recipe makes six. We suggest doubling or tripling the recipe and freezing a half dozen or so that can be pulled out on school mornings and tossed in the lunch box or warmed up after school for an easy snack.
Ingredients
Your fillings. We chose a mix of salami and grated tasty cheese and diced ham and grated tasty cheese. Grated veggies go alright too – you do you.
Some oil or butter to grease a muffin tin (recipe makes six hole tin – you can double up etc and make more)
3 eggs and a splash of milk whisked
Method:
Pre heat oven to 180oC and grease muffin tin
Whisk eggs and milk
Drop cheese and ham / selreted fillings into each muffin hole
Equally distribute egg and milk mix over the top (each hole should be roughly 2/3 full before cooking)
Bake in a preheated oven for ten minutes or until done
Turn out on to a wire rack to cool slightly and enjoy on their own or with sauce, sweet chilli, chutney or your desired condiment. We ate ours warm on the trampoline!
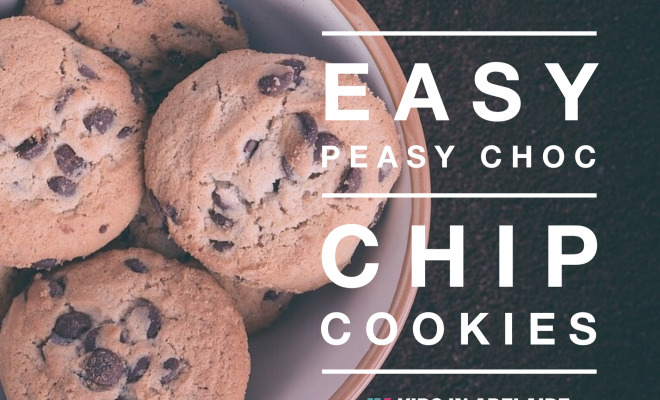
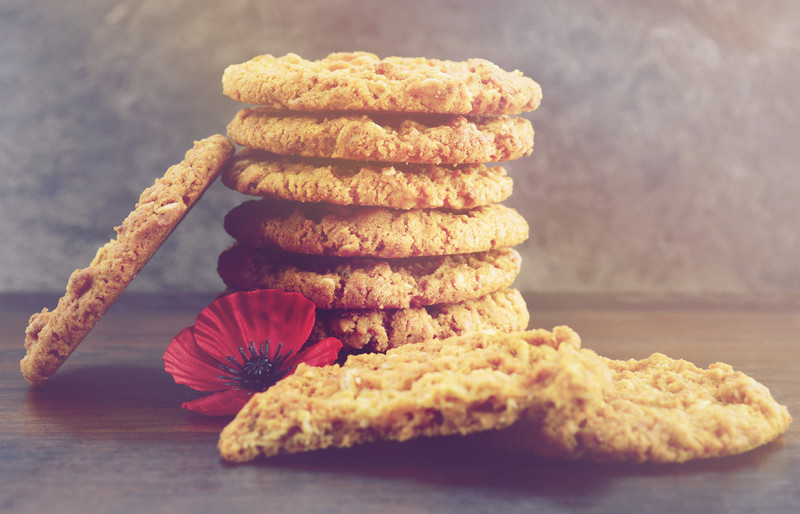
Easy Peasy Choc Chip Cookies
Easy and baking are two words I like seeing next to eachother and that’s why I love this cookie recipe. Not fancy, not gourmet but definitely delicious! A great one to try with kids.
Ingredients
125g butter
1 1/4 cups of brown sugar
1 egg
1 cup of plain flour
1/4 cup of self raising flour
1/2 teaspoon bicarb
1/3 cup cocoa
2/3 cup Choc chips, M&Ms, cranberries, or your other “chip of choice”
Method
Preheat oven to 180°C (160°C fan-forced) and line baking trays with paper.
Beat butter, brown sugar and egg in a small bowl until smooth (use electric beater if you have one)
Sift plain flour, self-raising flour, bicarb and cocoa in a large bowl and add to the other mixture and combine.
Add in your Choc chips and mix
Drop cookie blobs on baking tray with a few cms between each one or you’ll end up with one mega cookie (been there)
Bake for about 10 mins and put on wire rack to cool (and wonder how many will actually last long enough to cool)
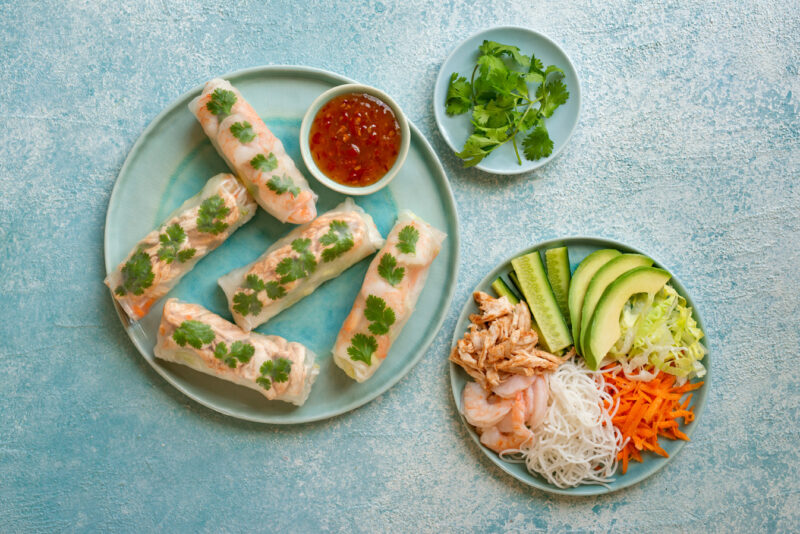
Cold Rolls with Dipping Sauce
Preparation time: 20 minutes
Serves: 4
Ingredients
8 x 22cm round rice paper wrappers
150g vermicelli noodles
¼ iceberg lettuce, shredded
1 large carrot, grated
1 Lebanese cucumber, cut into sticks
½ avocado, deseeded and thinly sliced
8 coriander sprigs
200g cooked shredded chicken or cooked peeled prawns
To serve:
Sweet chilli or hoisin sauce, for dipping
Method
Cook vermicelli noodles following packet instructions. Drain and rinse under cold water. Place drained noodles in a bowl and snip with kitchen scissors.
To make rice paper rolls, place all filling ingredients together on a large plate and fill a large shallow bowl with hot water.
Place rice paper wrappers one at a time into the hot water for about 10-15 seconds until just soft, as they become difficult to work with, the softer they become. Place wrapper onto a clean sheet of baking paper and assemble cold roll ingredients across the centre (like a sausage), allowing about 4cm of wrapper at either end. It is important not to add too much filling, as it will be difficult to roll and the wrapper may tear.
To roll the wrapper, start with the edge closest to you and encase the filling. Fold the outside edges in over the filling, to hold the ingredients in at each end. Roll filling over remaining wrapper and place cold roll on a platter to serve. Repeat process with remaining ingredients.
Serve cold rolls with dipping sauce of choice.
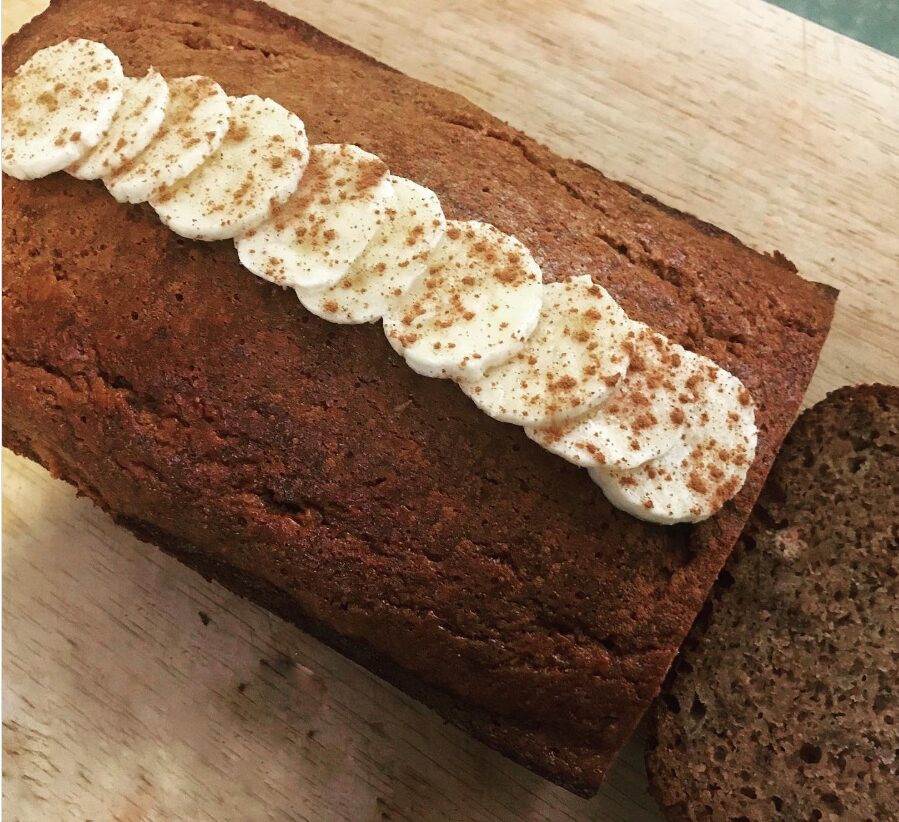
Healthy Banana Bread
I am yet to meet a kid who doesn’t love banana bread! It’s perfect for freezing and pulling out when needed. Delicious fresh or toasted. It’s just the perfect snack!
Ingredients
⅓ cup melted coconut oil
½ cup honey
2 eggs
1 cup mashed ripe bananas (about 2 ½ medium or 2 large bananas)
¼ cup milk of choice
1 teaspoon baking soda
1 teaspoon vanilla extract
½ teaspoon salt
½ teaspoon ground cinnamon
1 ¾ cups spelt flour.
Method
Preheat oven to 165 degrees Celsius and grease a 9×5-inch loaf pan.
In a large bowl, beat the oil and honey together with a whisk. Add the eggs and beat well, then whisk in the mashed bananas and milk.
Add the baking soda, vanilla, salt and cinnamon, and whisk to blend. Lastly, switch to a big spoon and stir in the flour, just until combined.
Pour the batter into your greased loaf pan and sprinkle lightly with extra cinnamon.
Bake for 55 to 60 minutes, or until a toothpick inserted into the centre comes out clean. Let the bread cool in the loaf pan for 10 minutes, then transfer it to a wire rack to cool for 20 minutes before slicing.
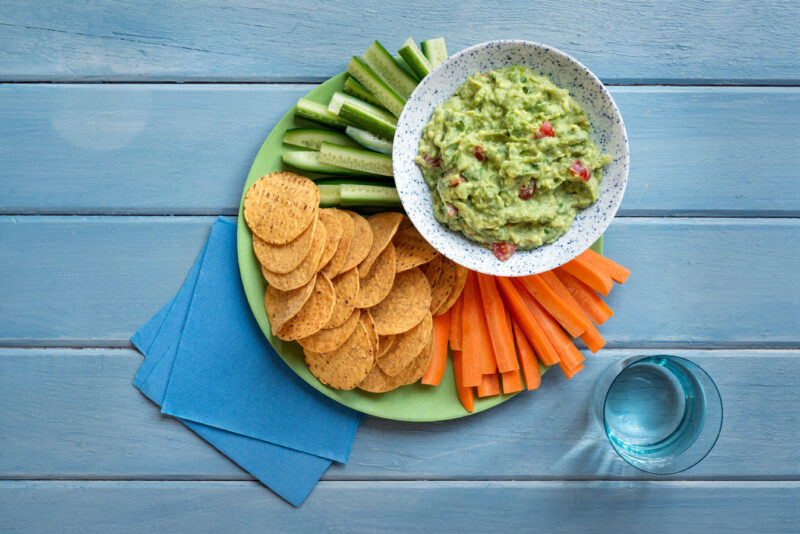
Guacamole
Preparation time: 10 minutes
Serves: 4
Ingredients
2 large avocados, halved and deseeded
2 spring onions, thinly sliced
8 cherry tomatoes, quartered
¼ cup coriander leaves, roughly chopped
1 lime, juiced
Salt flakes and freshly ground black pepper
100g corn chips
1 large carrot, peeled and cut into batons
1 Lebanese cucumber, cut into batons
Method
Spoon avocado into a small mixing bowl and mash with a fork.
Add spring onions, tomatoes, coriander, lime juice, salt and pepper, stirring to combine.
Serve guacamole with corn chips, carrot and cucumber batons.
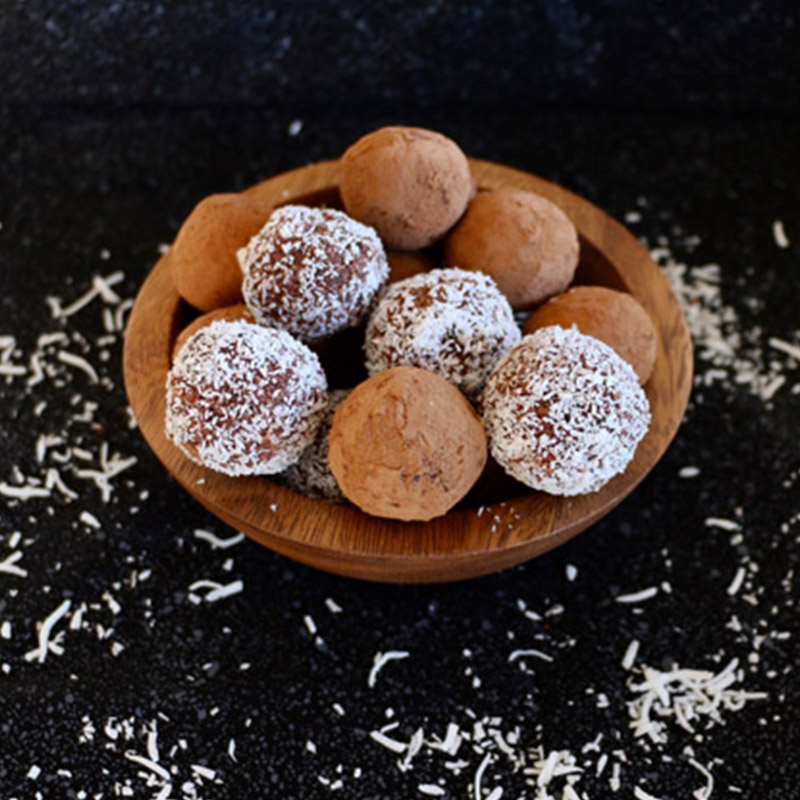
Choc Orange Bites
MAKES 12 BALLS – GF . DF . V . VG . *
Bliss balls are a healthier sweet treat option with protein and healthy fats from the seeds. My staple base ingredients are dates or apricots and seeds (or nuts if schools allow).
Ingredients
sunflower seeds 1/2 cup
pumpkin seeds 1/2 cup
dates 1 cup pitted
cacao powder 1 tbsp
orange zest of 1 + 1tsp juice
shredded coconut 1/2 cup to roll
coconut oil 1 tbsp
Method
In a food processor blend seeds into crumbs. Place rest of ingredients except juice/coconut oil into food processor and blend until well combined. It should look like damp crumbs. Gradually add juice or oil until mixture sticks together and starts to form balls when pressed together.
Roll into balls, then roll in coconut or simply leave plain. Keep in an airtight container in fridge until ready to pop into your child’s lunchbox.
Nutritionist’s Tip
Add coconut oil gradually at the end so you don’t make them too sticky.
Alternative emulsifiers are lemon juice, orange juice, coconut cream or olive oil
Alternative coverings – cacao/cocoa powder, melted dark chocolate, carob, crushed nuts or seeds
Alternative flavourings – 1tsp peppermint essence, lemon rind/juice, cinnamon, dark chocolate chips
Use nuts instead of seeds if allowed – almonds, cashews & hazelnuts work well
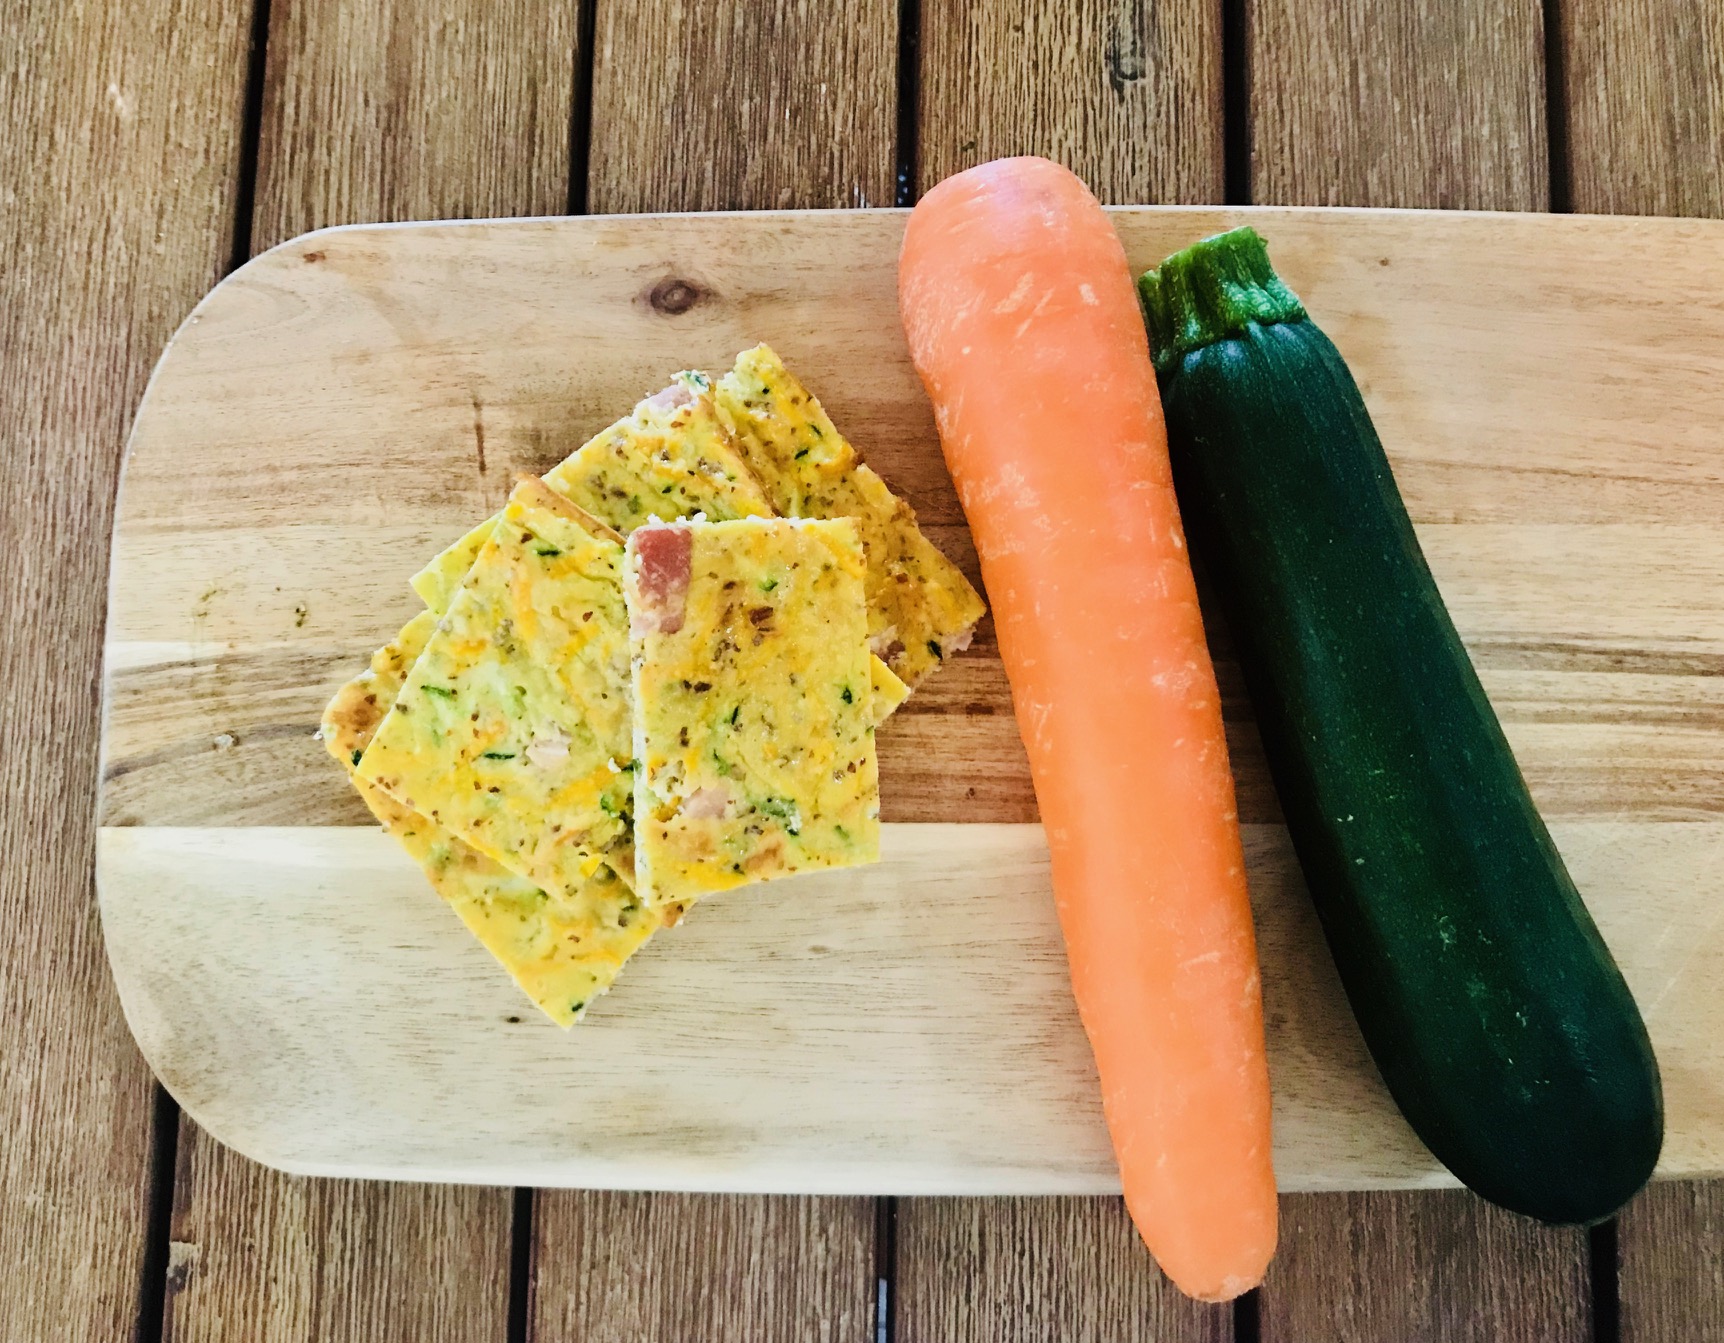
Zucchini Slice
This recipe is easy to make, doesn’t have many ingredients, requires ONE bowl, is healthy, tastes good, freezes well, is great for lunchboxes
Ingredients
1 large zucchini grated
1 large carrot grated
1 cup cheese grated
3/4 cup almond meal
6 eggs
1/2 cup coconut milk
salt, pepper, dried oregano to taste
Throw it ALL in a bowl, mix it, pour into a lined slice tray and bake for about half an hour on 180 degrees.
Cut into lunchbox size slices and freeze, or just devour it like we did.
Extras:
Throw in some chopped bacon, ham, mushrooms…..pretty much anything your kids like to eat.
You can substitute almond meal with wholemeal spelt flour if you prefer.
You can substitute coconut milk for normal milk if you prefer.
Note
This recipe has NUTS (almond meal) and EGGS so not suitable for classrooms with food allergies.
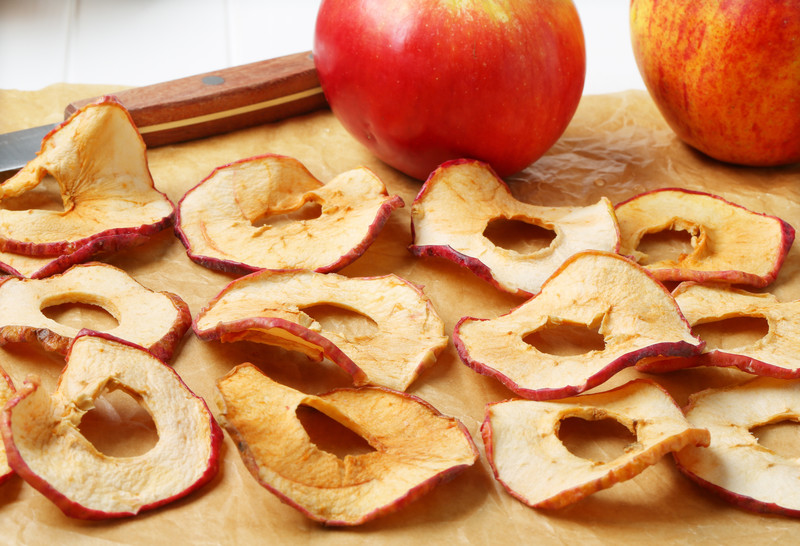
Apple Chips
This school year replace the potato chips for Apple Chips! One of my go to additions for the lunchbox or a snack at home.
These homemade apple chips are super healthy and the best yet its soooo simple! Store in an airtight container when cooled
Ingredients
4 gala apples
cinnamon
Method
Preheat oven to 110°C fan-forced. Line one or two baking trays dependent on how many you wish to make with baking paper and set aside.
Using an apple corer, remove the apple cores. Slice into 2mm slices and lay on the baking trays.Sprinkle with yummy cinnamon.
Bake for 2 hours, stopping after the first hour to turn the slices over (set a timer to remind you). Cool on wire racks.
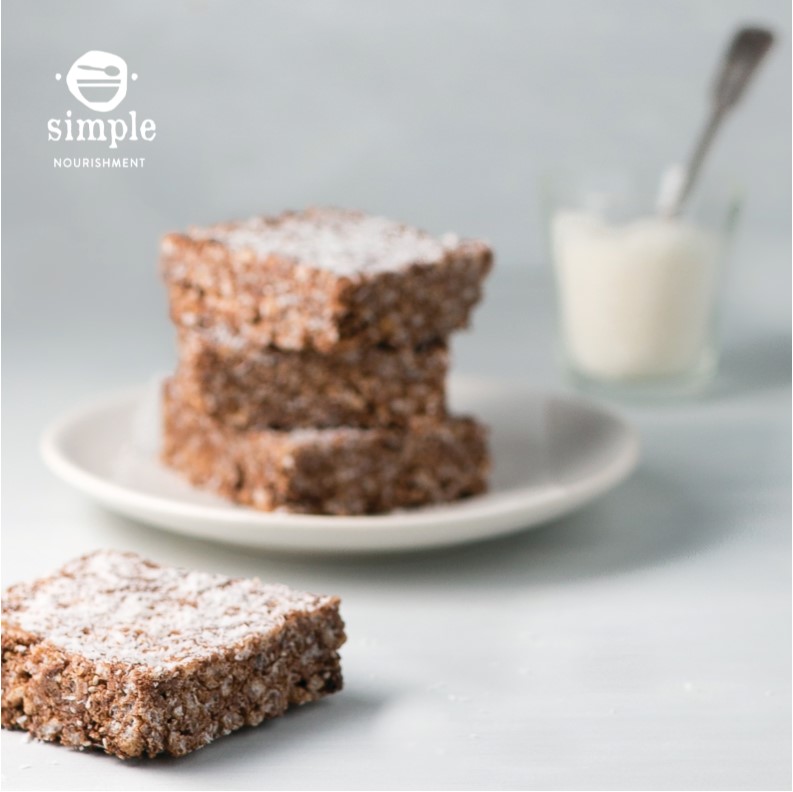
Cleaned Up Bubble Bars
This is a great one bowl recipe that’s easy to make and guaranteed to get eaten! Gluten free and dairy free.
Ingredients
2 cups puffed rice or rice bubbles
1 cup desiccated coconut
2 tbs chia seeds
2 tbs cacao powder
1⁄4 cup coconut oil
1⁄2 cup honey
Method
LINE a medium baking tin with greaseproof paper.
IN a large bowl, combine the puffed rice, desiccated coconut, chia seeds and cacao. Mix together well.
PLACE the coconut oil and honey in a small saucepan and melt together on a low heat.
TIP this mixture into the bowl of dry ingredients and stir until everything is well combined.
PRESS the mixture into the lined tray and place in the fridge to set for at least two hours before cutting into bars.
Tips
Using ordinary rice bubbles rather than plain puffed rice will make this recipe quite a bit sweeter. Keep in the fridge! Bars last for up to a week.
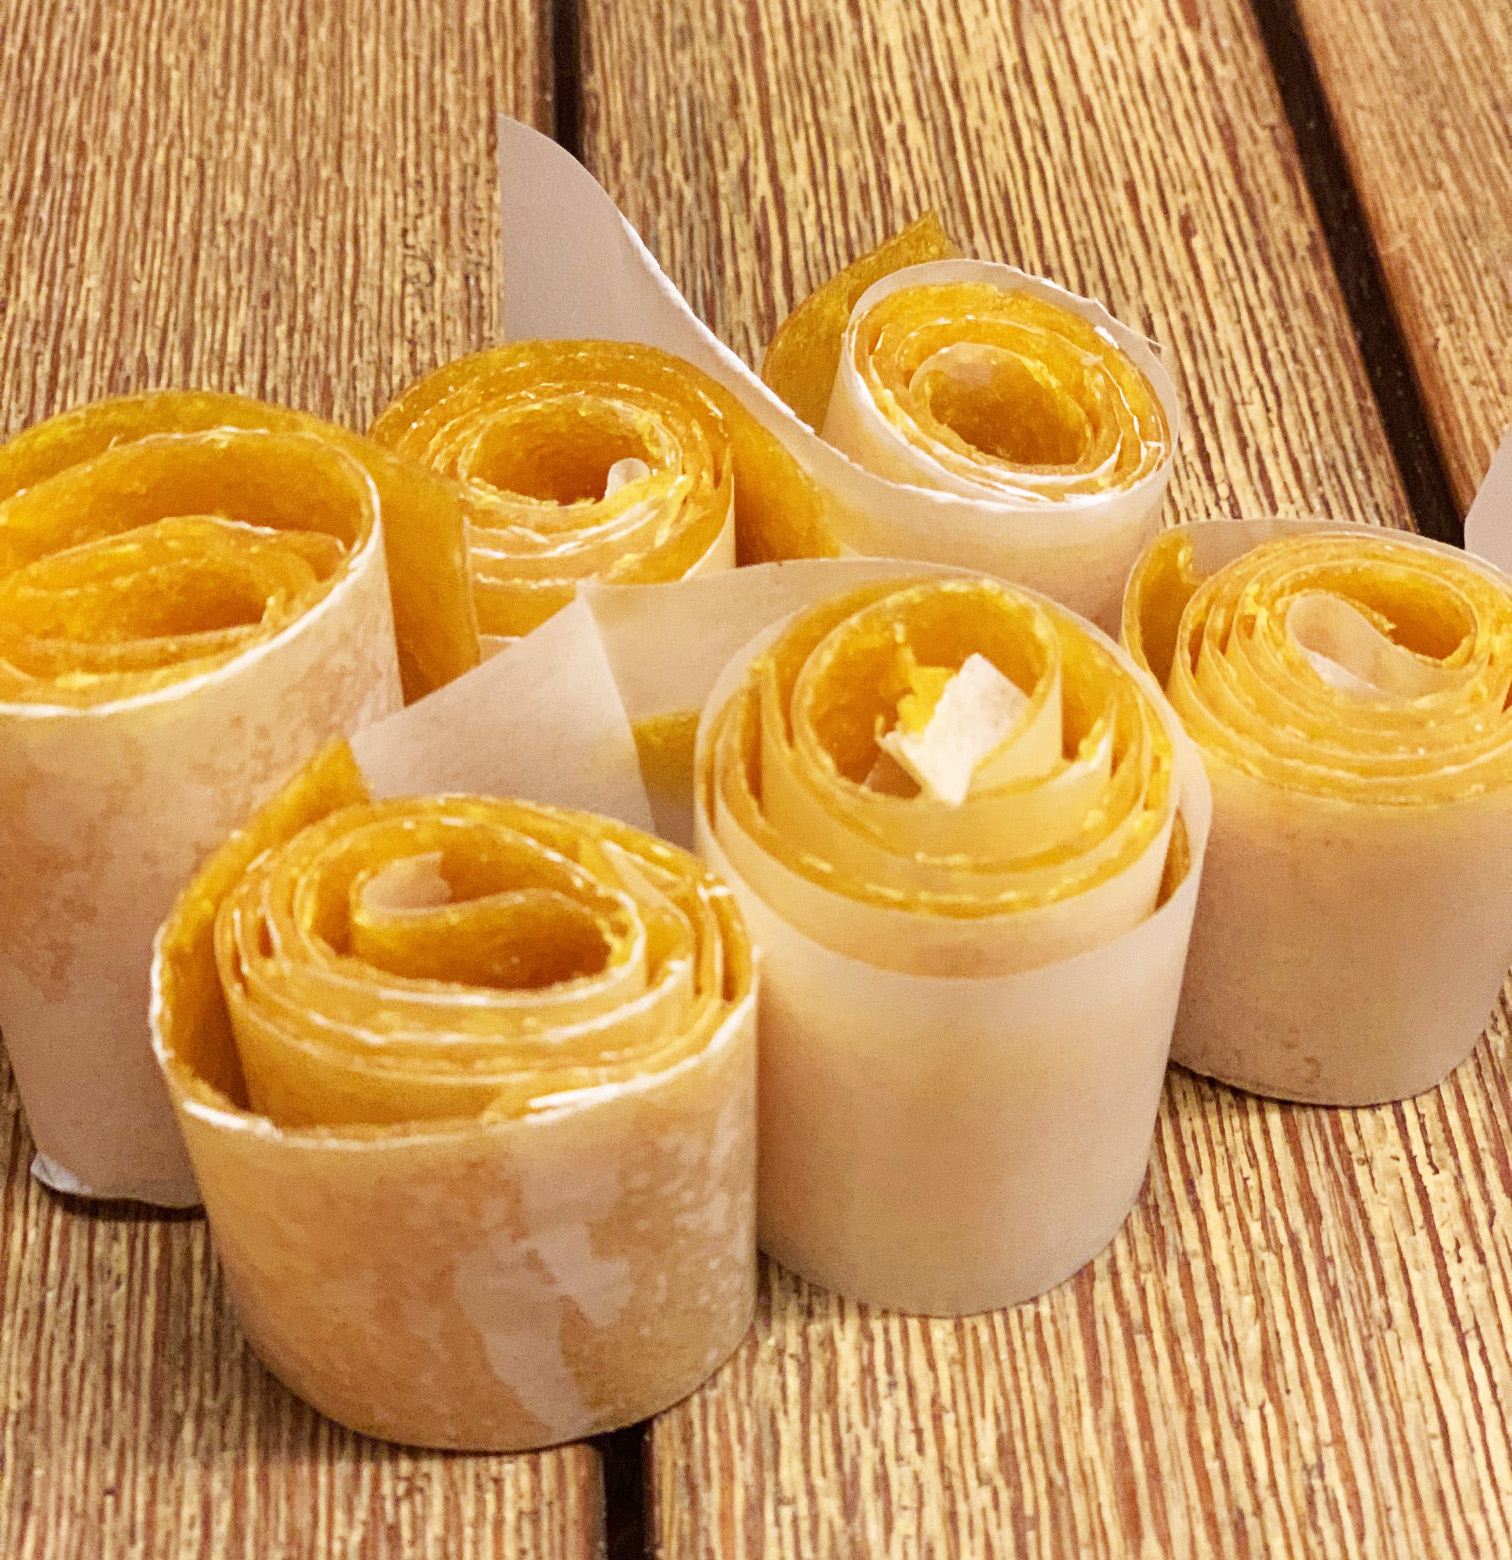
Homemade Fruit Roll Ups
Follow these easy steps to make your own homemade rollups from 100% fruit!
The recipe is super simple and a great way to use up extra fruit you have leftover, or if you’ve been fruit picking and need ideas for your haul.
Ingredients
3 cups of fruit. I used frozen mango I had in the freezer but you could experiment with mixed berries, apricots, necatrines, pears, apples or anything really. Let us know which combos work best.
Add a squeeze of lemon juice, it helps the fruit keep its bright colour
If you want, add a bit of honey, if not leave it out. We added just one tablespoon as a test and it’s YUMMY but you could definitely leave it out if you wanted. We’ve heard a touch of coconut oil is also delicious.
Method
Blend baby blend until it’s as smooth as possible. I used my Magimix, but you could use Thermomix, a blender or your Nutribullet. Try and get all those lumps out for a nice smooth roll up.
Spread the smooth mixture on a baking tray lined with baking paper, or a reuseable silicone baking mats (I got mine from Seed & Sprout) It needs to be as thin as possible without forming holes, about half a cm.
Turn your oven on as low as it will go (mine was 70 degrees) and wait wait wait until the fruit is no longer sticky to touch. Mine took around 6 hours. Sometimes the edges might go a bit dry if they are thin, you can rehydrate them a bit by rubbing a bit of water on them.
I then peeled the fruit off the silicone mat and placed it onto a sheet of baking paper. I then cut strips using scissors keeping the baking paper with the fruit strap. And then you just roll them up and whack them in your lunchbox.
They’ll keep in the fridge for about 2 weeks – they’ll likely be gobbled up before then though!
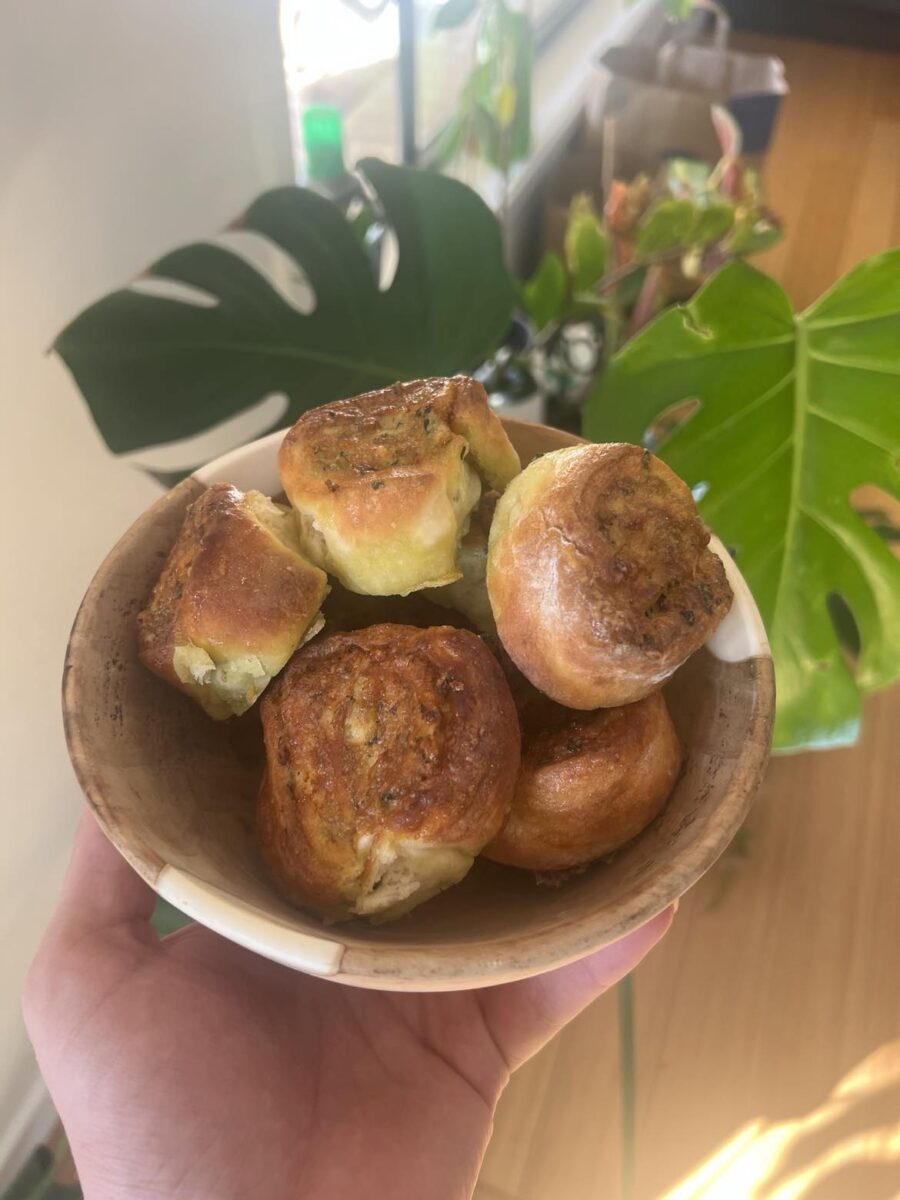
Easy Peasy Scrolls
Make this easy peasy 2 ingredient dough and add your choice of scroll fillings. Always a hit with the kids!
Ingredients
1 cup greek yoghurt
1.5 cups SR flour
Filling options:
Vegemite and cheese
Pesto and cheese
Cinnamon sugar
Ham and cheese
Bacon, BBQ sauce and cheese
Chopped apple and cinnamon
Method
Mix yoghurt and flour together and bring together with your hands (add more flour if it’s too sticky).
Press and roll dough onto floured bench until it’s to your desired thickness
Cover dough with your chosen fillings.
Roll up and cut into your desired thickness (I prefer about 2cm thick)
You can brush with melted butter or an egg wash to create a nice golden finish if you wish.
Cook in the oven or air fryer at 180oC for 15 minutes, or until golden.


